answer · Picture Frame Molding
Picture Frame Molding: Installation Guide
Picture Frame Molding planning guide with verified profile sizes, matched options, current price data, layout steps, and measurement guidance.
Project calculator
Guide
Picture Frame Molding: Installation Guide begins with the wall, not the catalog. Measure the usable area, identify doors, windows, outlets, switches, and furniture, then decide which lines should align. This guide connects diy picture frame molding with a practical layout, the matched kit list, current price data, and the calculator already on the page. Review the treatment from the main entrance and across the longest sight line. The chosen style should use consistent spacing and repeatable proportions. Use the verified dimensions below to compare the design with the actual wall before ordering.
Plan the wall before choosing a kit
Draw the full wall elevation and mark every interruption before comparing picture frame molding options. Decide whether the composition should center on the whole wall, a bed, a sofa, a dining table, or another fixed feature. Repeated openings should share a clear baseline and consistent gaps. Check both end conditions because a layout that looks balanced in the middle can still leave an awkward strip at one corner. Use removable tape or light pencil marks to preview the main lines at full scale. This step makes it easier to compare the matched kit list with the layout you actually need, instead of forcing the wall to fit a product photograph.
Use verified dimensions for quantities
Calculate each run from the approved drawing rather than multiplying the room area by a general allowance. Add the horizontal, vertical, and curved lengths separately, then use the page calculator to combine them. The polystyrene molding profile is 2.5 cm, with 4 cm available by order, and standard sticks are 240 cm long. Openings, returns, damaged cuts, and pattern changes can affect the final quantity, so confirm the cut plan before ordering. For chair rail projects, 6 cm profiles are also available in 300 cm lengths. Keep all measurements in one unit while planning, then compare the total with the available stick length. This produces a traceable estimate without inventing a universal waste percentage or a standard layout for every room.
Compare matched options and current prices
Use the product list on this page to compare only the options matched to the same wall treatment. The accompanying price table reflects the catalog data attached to the page, so use it for current figures instead of copying an old amount into a project plan. Compare the treatment type, listed dimensions, and the number of repeated elements required by your drawing. MDF is available only for shaker, board and batten, and arched designs. Other listed molding uses the 2.5 cm polystyrene profile, with 4 cm available by order. Confirm the final wall measurements and selected option together before treating the calculator result as an order quantity.
Real installations from our kits
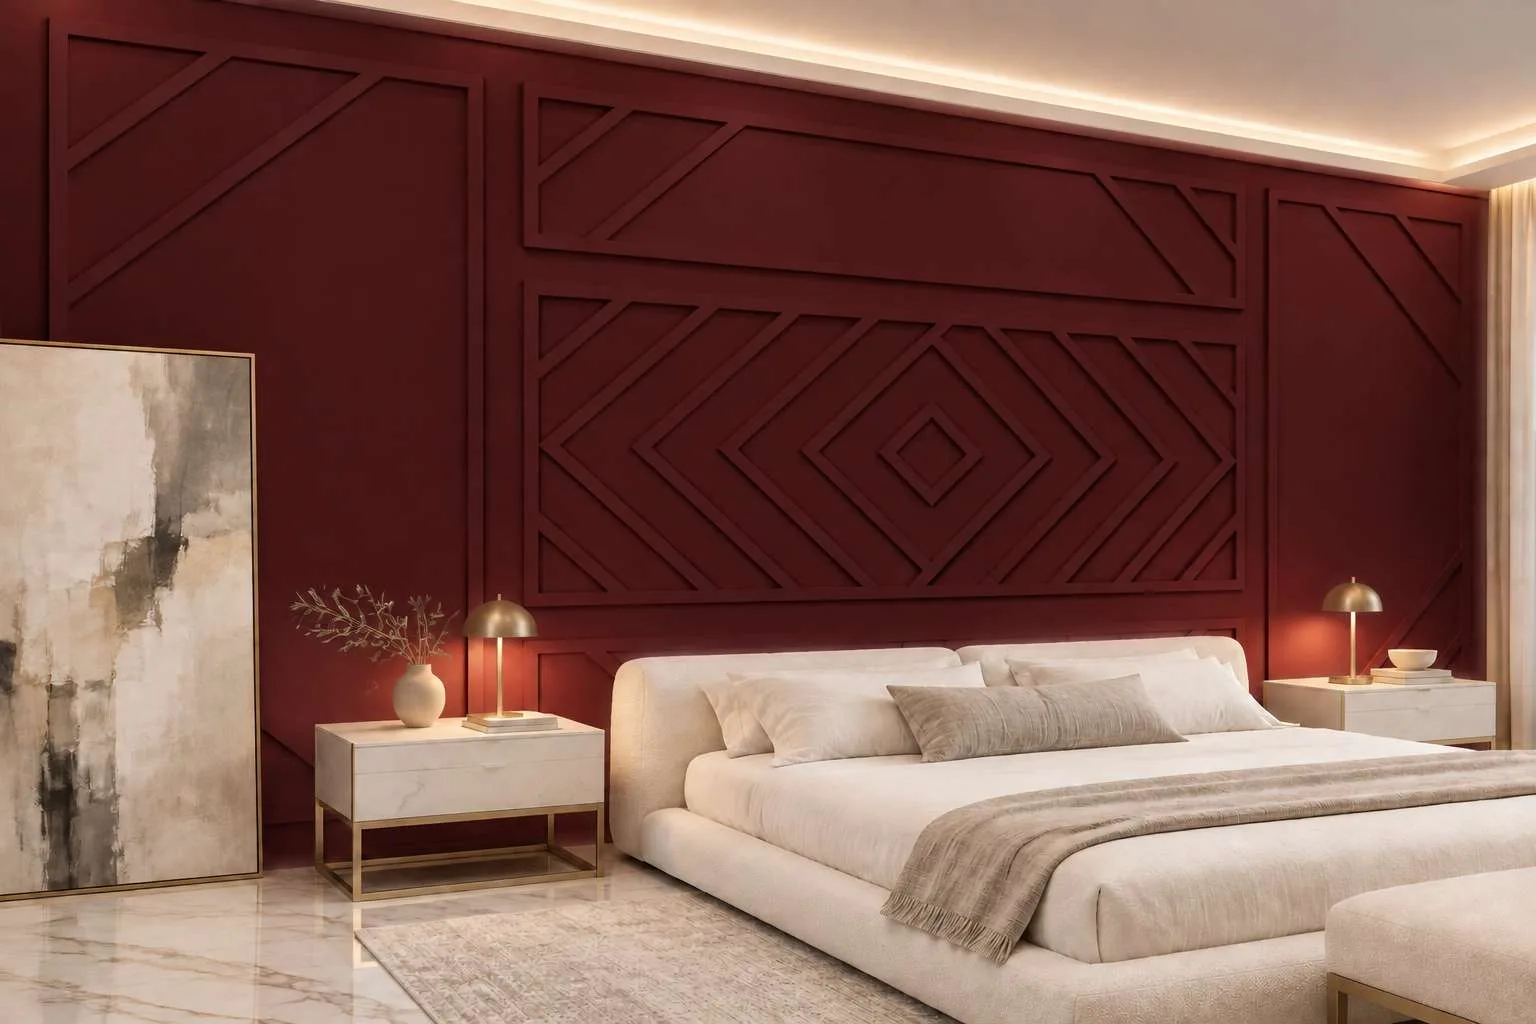
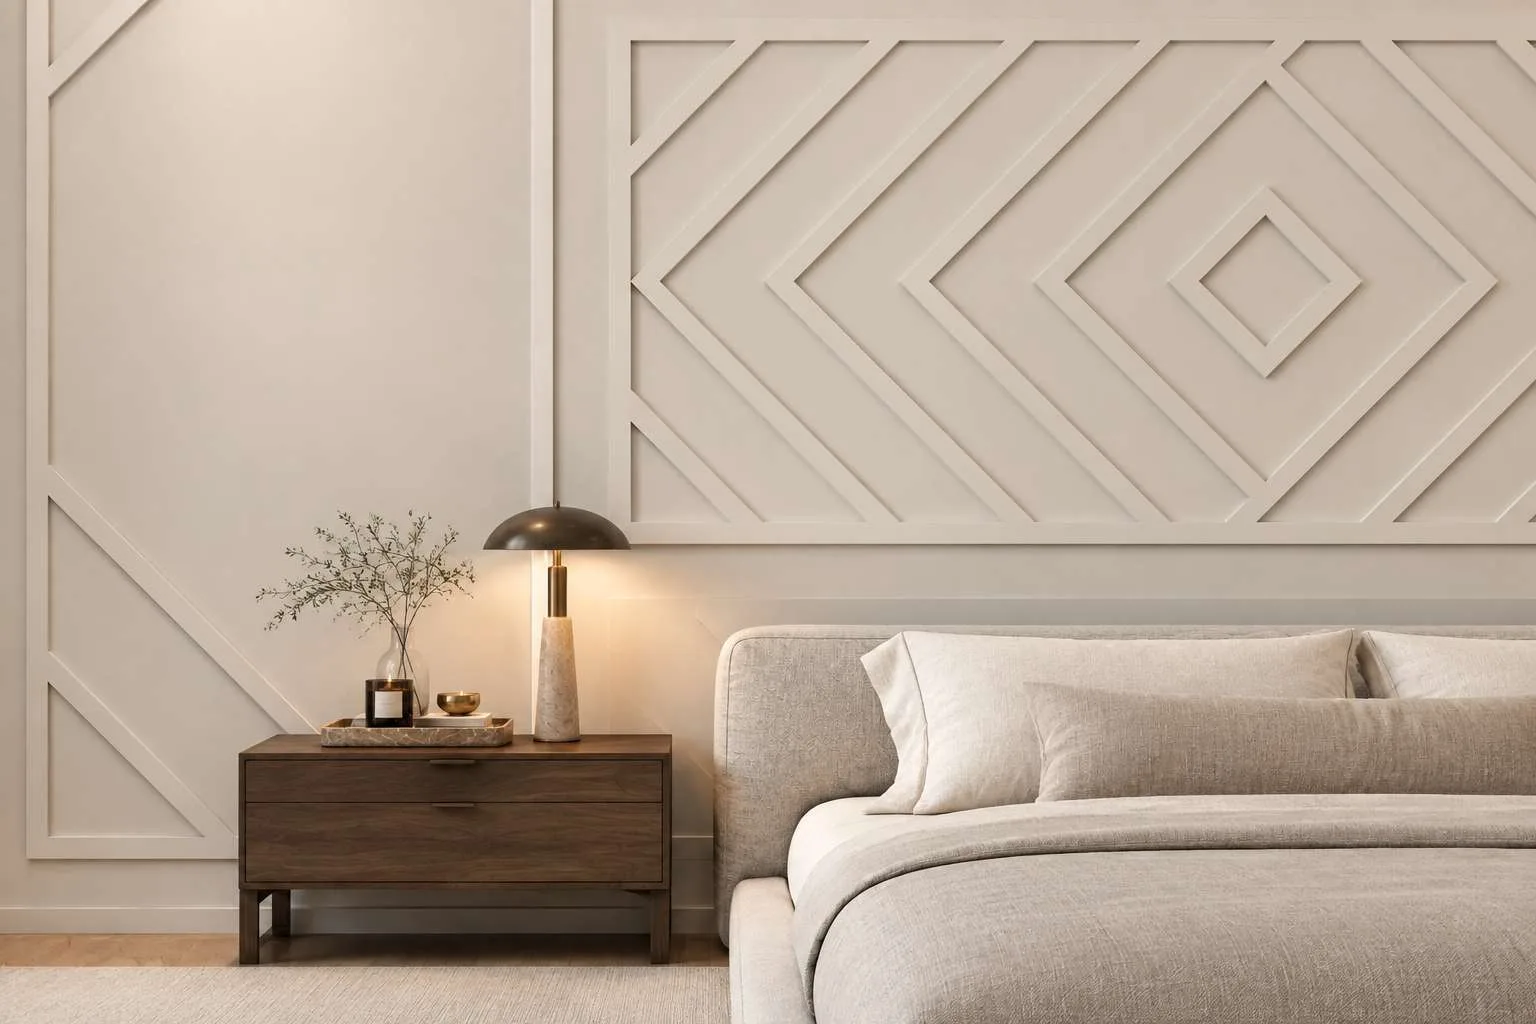
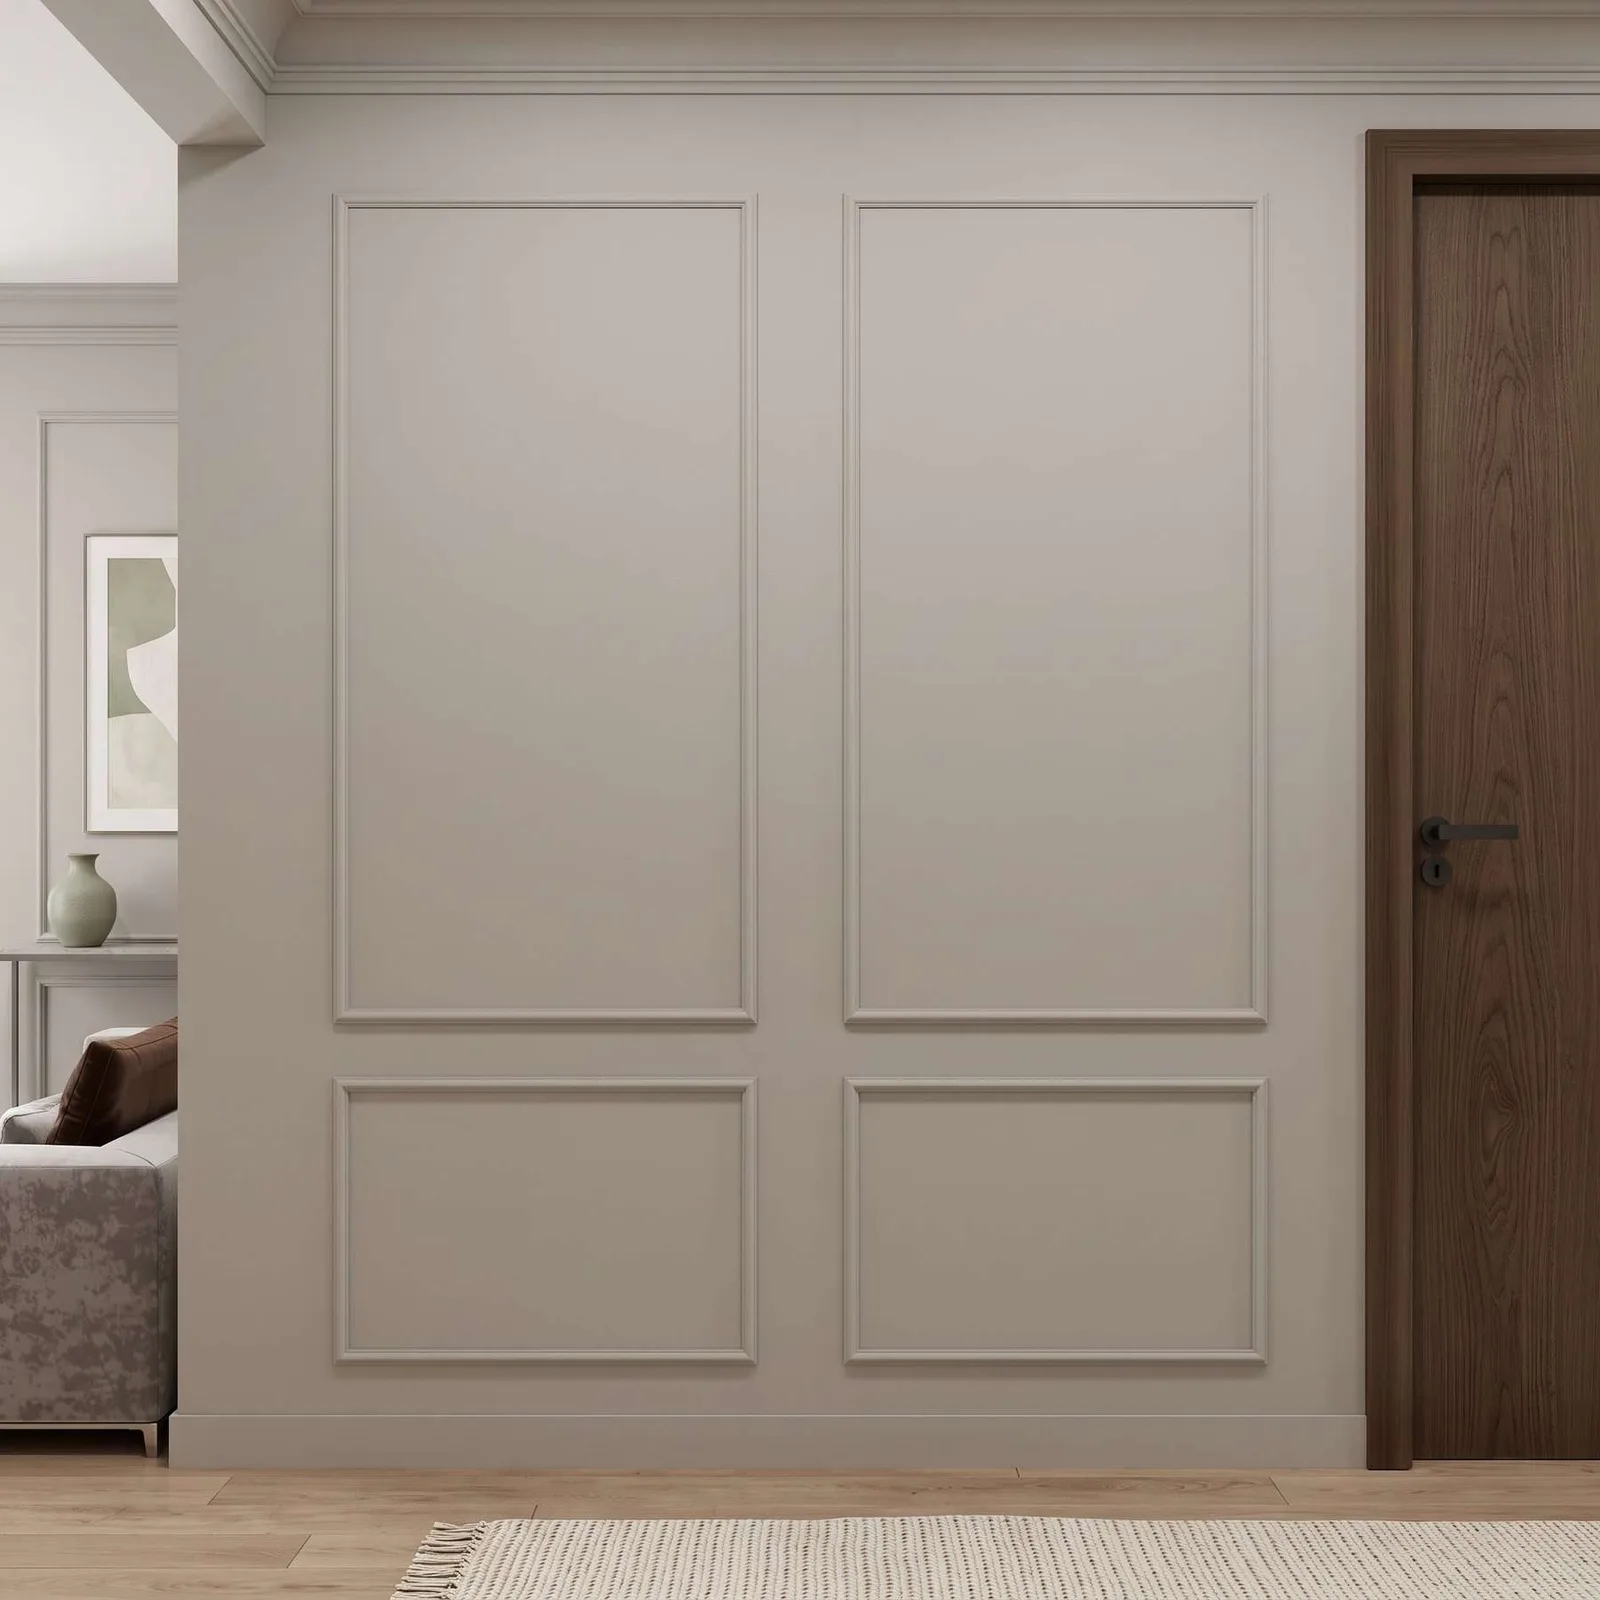
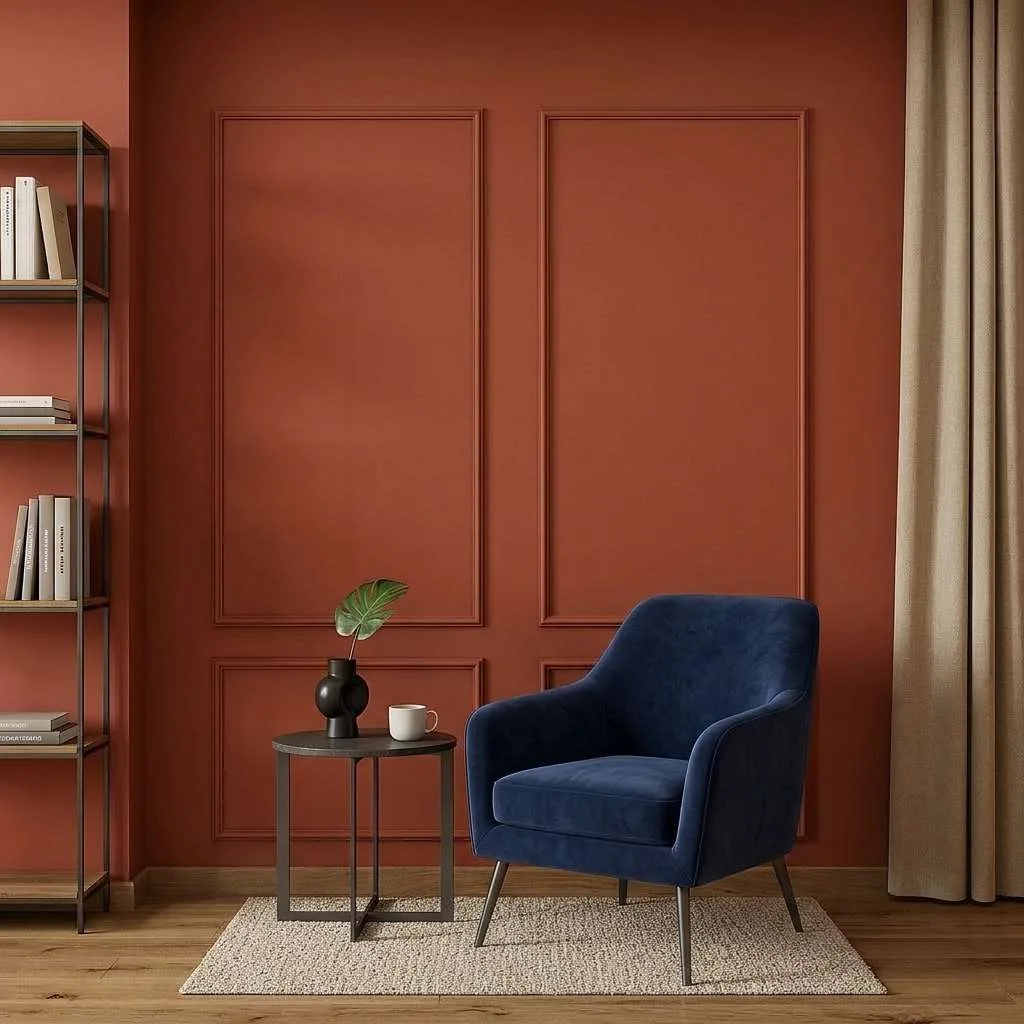
Picture Frame Molding kits for this project
Pre-cut kits that fit this project. Open a kit for photos, options and pricing.
01 / KITPicture Frame Pre-Cut Flat Wall Molding Kit for Living Areas | Factory Primed & Paintable
From $235.00
View kit02 / KITPicture Frame Wall Molding Kit, 2 Upper & 2 Bottom Frames | Easy Installation
From $75.00
View kit 03 / KIT
Instant Nested Frame Wall Trim Molding Package Kits, 3 Upper & 3 Bottom Nested Frames | Quick Easy Installation
From $333.00
View kit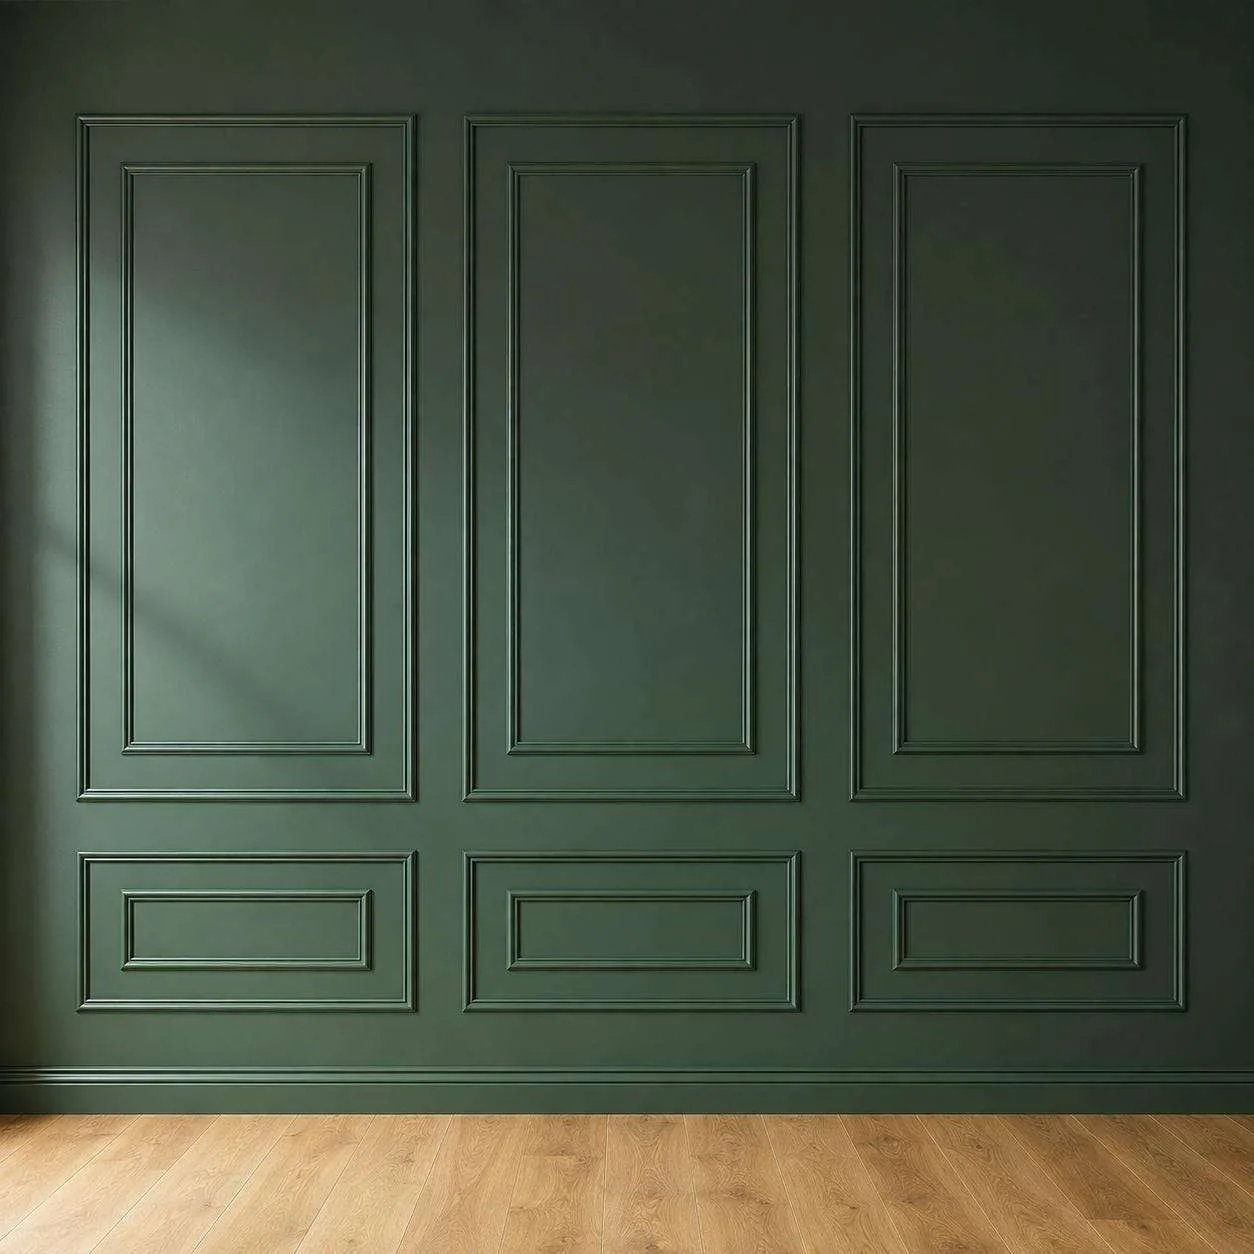 04 / KIT
Nested Wall Molding Package Kits, 3 Upper & 3 Bottom Nested Frames | Easy Installation
From $277.00
View kit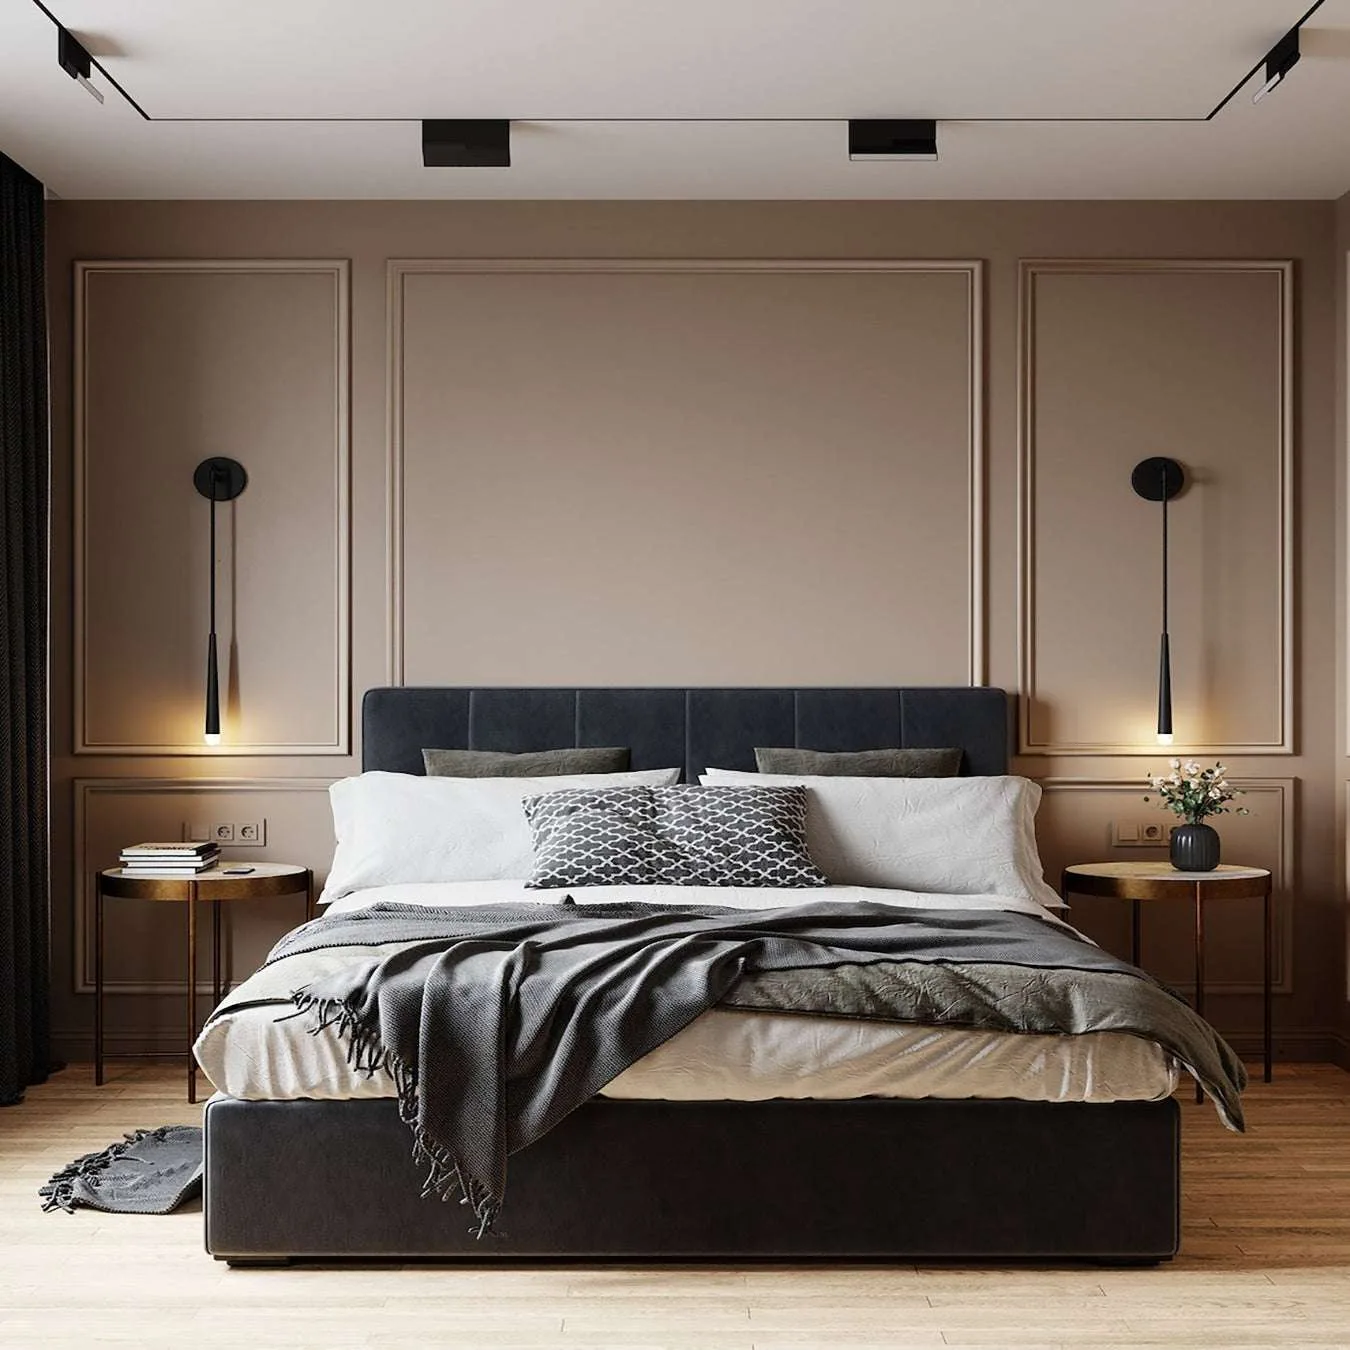 05 / KIT
Quick Easy to Apply Peel and Stick Wall Molding, 3 Upper & 3 Bottom Frames | No Tools Required
From $172.00
View kit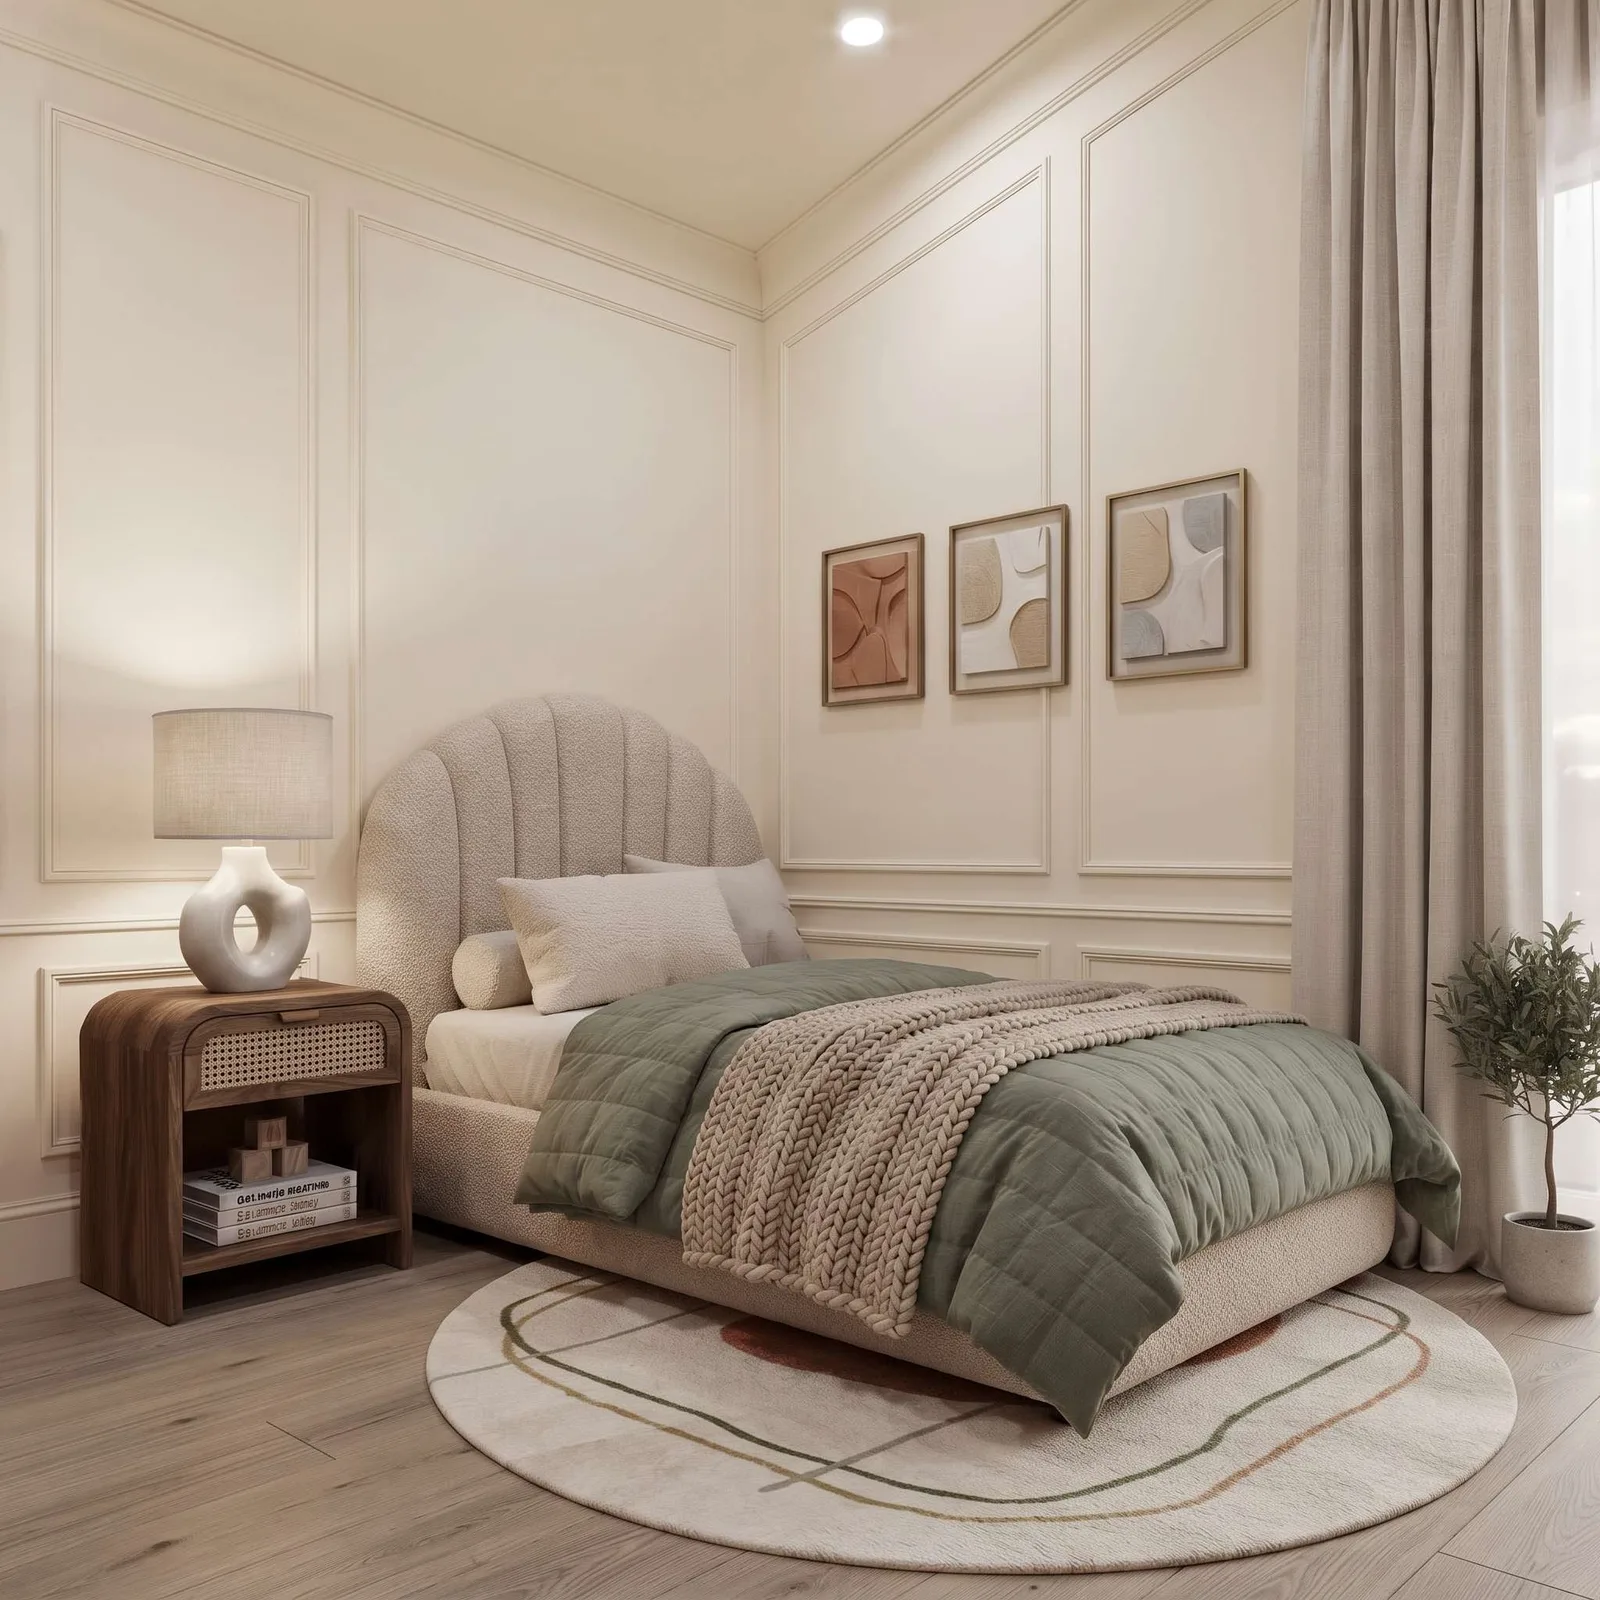 06 / KIT
Chair Rail Wall Molding Kit, 3 Upper & 3 Bottom Picture Frames | Easy Installation
From $165.00
View kit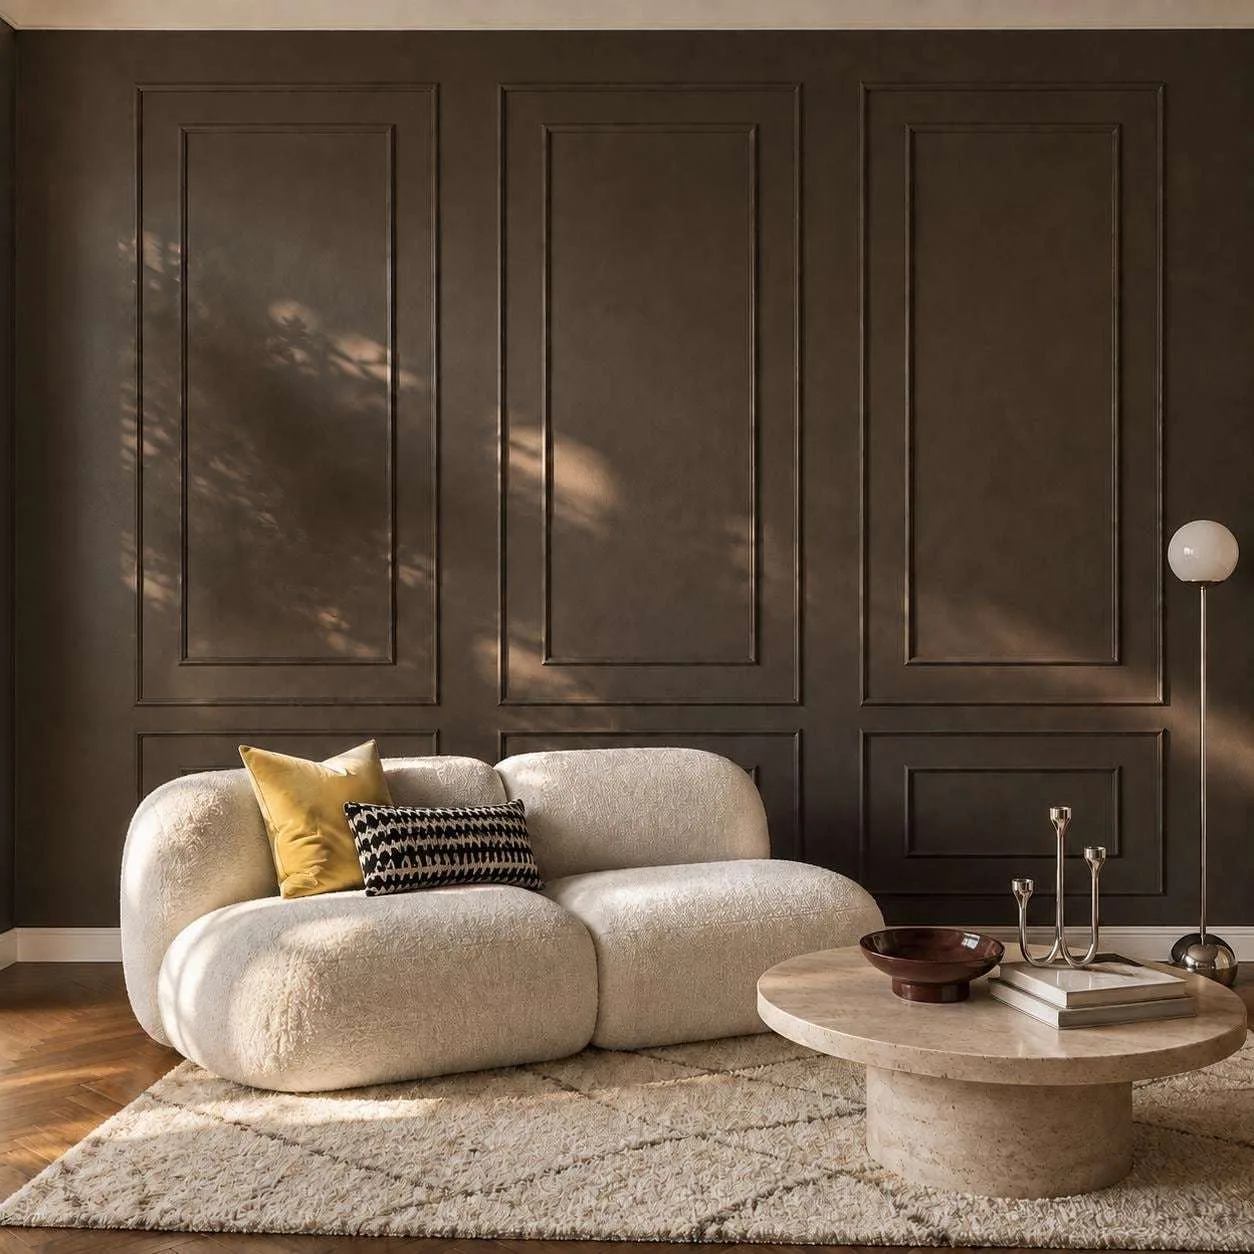 07 / KIT
Waterproof Double Picture Frame Molding Set, 1 to 4 Panels | Wall Trim Kit Easy Installation
From $69.80
View kit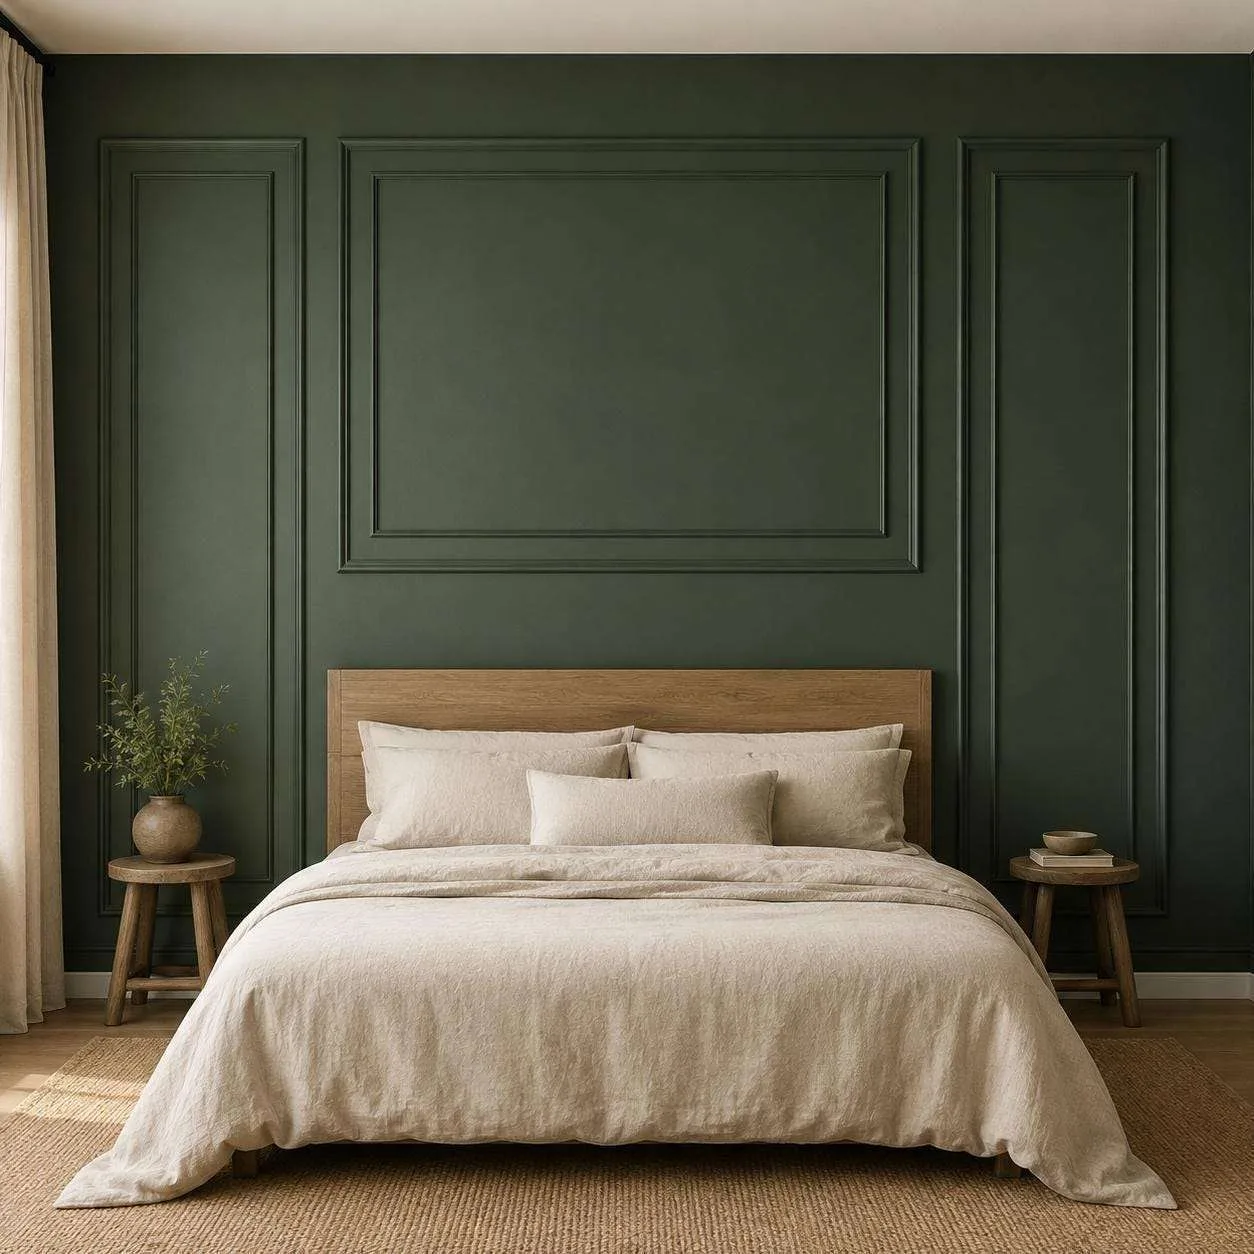 08 / KIT
Bedroom Board and Batten Picture Frame Wall Molding Set, Queen & King Size Molding Kit | Easy Installation
From $174.41
View kitKit prices on this page
| Kit | Material | From | Up to | Adhesive option |
|---|---|---|---|---|
| Picture Frame Pre-Cut Flat Wall Molding Kit for Living Areas | Polystyrene | $235.00 | $237.00 | Yes |
| Picture Frame Wall Molding Kit | Polystyrene | $75.00 | $302.00 | Yes |
| Instant Nested Frame Wall Trim Molding Package Kits | Polystyrene | $333.00 | $335.00 | Yes |
| Nested Wall Molding Package Kits | Polystyrene | $277.00 | $279.00 | Yes |
| Quick Easy to Apply Peel and Stick Wall Molding | Polystyrene | $172.00 | $203.00 | Yes |
| Chair Rail Wall Molding Kit | Polystyrene | $165.00 | $197.00 | Yes |
| Waterproof Double Picture Frame Molding Set | Polystyrene | $69.80 | $277.85 | Yes |
| Bedroom Board and Batten Picture Frame Wall Molding Set | Polystyrene | $174.41 | $193.58 | Yes |
Sizes and options available
| Option | Choices |
|---|---|
| Size | Standard kit · 2.5 cm / 1 in · 4 cm / 1.6 in |
| Installation Type | Non-Adhesive · Self-Adhesive |
| Buying Options | Single Frame Set · Double Frame Set · Triple Frame Set · Four-Frame Set · Five-Frame Set |
| Panel Quantity | 1 Panel · 2 Panel · 3 Panel · 4 Panel |
| Design Size | Queen Size · King Size |
Material and profile specifications
| Specification | Value |
|---|---|
| Panel molding profile | 2.5 cm (about 1 in); 4 cm made to order |
| Stock length | 240 cm sticks |
| Material | Hard polystyrene polymer (not wood or foam); MDF for shaker, board and batten and arched kits |
| Finish | Factory primed, sandable and paintable |
| Installation options | Non-adhesive (construction adhesive or joint compound) or self-adhesive backing |
| Kit cutting | Pieces pre-cut to length and mitered at 45° |
Common heights by ceiling height
| Ceiling height | Chair rail / wainscoting at 1/3 | Taller wainscoting at 40% | Two-thirds wall treatment |
|---|---|---|---|
| 8 ft | 32 in | 38 in | 64 in |
| 9 ft | 36 in | 43 in | 72 in |
| 10 ft | 40 in | 48 in | 80 in |
| 12 ft | 48 in | 58 in | 96 in |
Installation steps
order: 1; text: Measure the usable wall width and height, then record every obstacle that affects frame placement.
order: 2; text: Lay out complete frame rectangles with verified widths, heights, and repeated gaps; check the layout with a level.
order: 3; text: Cut and dry-assemble the first frame to verify all four miter joints before repeating the cut list.
order: 4; text: Label each piece by frame and position so its orientation is preserved during installation.
order: 5; text: Install with the fastening method approved for the chosen profile and substrate, checking level and joint closure as each frame is completed.
items: tape measure · pencil · level · equal-spacing blocks · miter-capable cutting tool · manufacturer-approved fastening materials · eye protection
Questions people ask
How to install box molding?
Plan picture frame molding by measuring the wall, choosing a repeatable layout, and marking every line before installation. Start with the usable wall area, note openings and obstacles, and sketch the complete arrangement before selecting pieces. Compare the required length with the page calculator and current product table, then round quantities up only after the final layout is confirmed. The polystyrene molding profile is 2.5 cm, with 4 cm available by order.
How to use picture molding?
Picture Frame Molding works best when its scale, spacing, material, and finish are matched to the wall rather than chosen in isolation. Start with the usable wall area, note openings and obstacles, and sketch the complete arrangement before selecting pieces. Compare the required length with the page calculator and current product table, then round quantities up only after the final layout is confirmed. The polystyrene molding profile is 2.5 cm, with 4.
How to install panel molding?
Plan picture frame molding by measuring the wall, choosing a repeatable layout, and marking every line before installation. Start with the usable wall area, note openings and obstacles, and sketch the complete arrangement before selecting pieces. Compare the required length with the page calculator and current product table, then round quantities up only after the final layout is confirmed. The polystyrene molding profile is 2.5 cm, with 4 cm available by order.
How to picture frame molding?
Picture Frame Molding works best when its scale, spacing, material, and finish are matched to the wall rather than chosen in isolation. Start with the usable wall area, note openings and obstacles, and sketch the complete arrangement before selecting pieces. Compare the required length with the page calculator and current product table, then round quantities up only after the final layout is confirmed. The polystyrene molding profile is 2.5 cm, with 4.
How to install picture molding?
Plan picture frame molding by measuring the wall, choosing a repeatable layout, and marking every line before installation. Start with the usable wall area, note openings and obstacles, and sketch the complete arrangement before selecting pieces. Compare the required length with the page calculator and current product table, then round quantities up only after the final layout is confirmed. The polystyrene molding profile is 2.5 cm, with 4 cm available by order.
How to install shadow box trim?
Plan picture frame molding by measuring the wall, choosing a repeatable layout, and marking every line before installation. Start with the usable wall area, note openings and obstacles, and sketch the complete arrangement before selecting pieces. Compare the required length with the page calculator and current product table, then round quantities up only after the final layout is confirmed. The polystyrene molding profile is 2.5 cm, with 4 cm available by order.
How to do box molding on walls?
Plan picture frame molding by measuring the wall, choosing a repeatable layout, and marking every line before installation. Start with the usable wall area, note openings and obstacles, and sketch the complete arrangement before selecting pieces. Compare the required length with the page calculator and current product table, then round quantities up only after the final layout is confirmed. The polystyrene molding profile is 2.5 cm, with 4 cm available by order.
How to cut picture frame molding?
Plan picture frame molding by measuring the wall, choosing a repeatable layout, and marking every line before installation. Start with the usable wall area, note openings and obstacles, and sketch the complete arrangement before selecting pieces. Compare the required length with the page calculator and current product table, then round quantities up only after the final layout is confirmed. The polystyrene molding profile is 2.5 cm, with 4 cm available by order.
How to diy picture frame molding?
Picture Frame Molding works best when its scale, spacing, material, and finish are matched to the wall rather than chosen in isolation. Start with the usable wall area, note openings and obstacles, and sketch the complete arrangement before selecting pieces. Compare the required length with the page calculator and current product table, then round quantities up only after the final layout is confirmed. The polystyrene molding profile is 2.5 cm, with 4.
How to hang from picture molding?
Picture Frame Molding works best when its scale, spacing, material, and finish are matched to the wall rather than chosen in isolation. Start with the usable wall area, note openings and obstacles, and sketch the complete arrangement before selecting pieces. Compare the required length with the page calculator and current product table, then round quantities up only after the final layout is confirmed. The polystyrene molding profile is 2.5 cm, with 4.
How do I install picture molding?
Plan picture frame molding by measuring the wall, choosing a repeatable layout, and marking every line before installation. Start with the usable wall area, note openings and obstacles, and sketch the complete arrangement before selecting pieces. Compare the required length with the page calculator and current product table, then round quantities up only after the final layout is confirmed. The polystyrene molding profile is 2.5 cm, with 4 cm available by order.
How to cut picture frame moulding?
Plan picture frame molding by measuring the wall, choosing a repeatable layout, and marking every line before installation. Start with the usable wall area, note openings and obstacles, and sketch the complete arrangement before selecting pieces. Compare the required length with the page calculator and current product table, then round quantities up only after the final layout is confirmed. The polystyrene molding profile is 2.5 cm, with 4 cm available by order.
Trace the details
Sources & dates
Prices, options and photos come from our product catalog on the date shown. Layout tables are planning estimates; measure your wall before ordering.
- DecoMoldings product catalogRecorded November 9, 2026
- Layout and quantity methodologyRecorded November 9, 2026