answer · Wainscoting
How to Install Wainscoting: Step-by-Step with a Pre-Cut Kit
Install wainscoting yourself: layout, adhesive options, corners and painting, with pre-cut kits and a step-by-step plan.
Project calculator
Guide
Installing wainscoting is a realistic DIY project when the cutting is done for you. The work comes down to four stages: marking an accurate layout, fixing the chair rail, fixing the frames or panels, and finishing the joints and paint. This guide walks through each stage for applied molding wainscoting and shows the kits, the material specs and a calculator so you can check quantities before you start.
1. Mark the layout
Measure the ceiling height and mark the chair rail line at about one third of it. Use a laser or long level and mark the line on every wall. Then mark the frame positions below the rail with equal margins at the corners, rail and baseboard. Check the layout tables on our room pages for frame widths on common wall widths.
2. Fix the chair rail and frames
For non-adhesive kits, apply construction adhesive, joint compound or silicone dots to the back of each piece. Fix the chair rail first, then the frames, starting with the top piece of each frame. Hold pieces with painter's tape while the adhesive sets. Self-adhesive kits press straight onto the wall. Our pieces arrive cut with 45 degree miters, so corners close without cutting on site.
3. Fill, caulk and paint
Fill the miter joints and any gaps, then caulk where the trim meets the wall. Joint compound is the most forgiving filler: mistakes wipe off and it sands easily. Sand lightly, remove the dust and paint the trim and wall in the same color for a built-in look, or paint the lower wall a contrasting shade.
Real installations from our kits
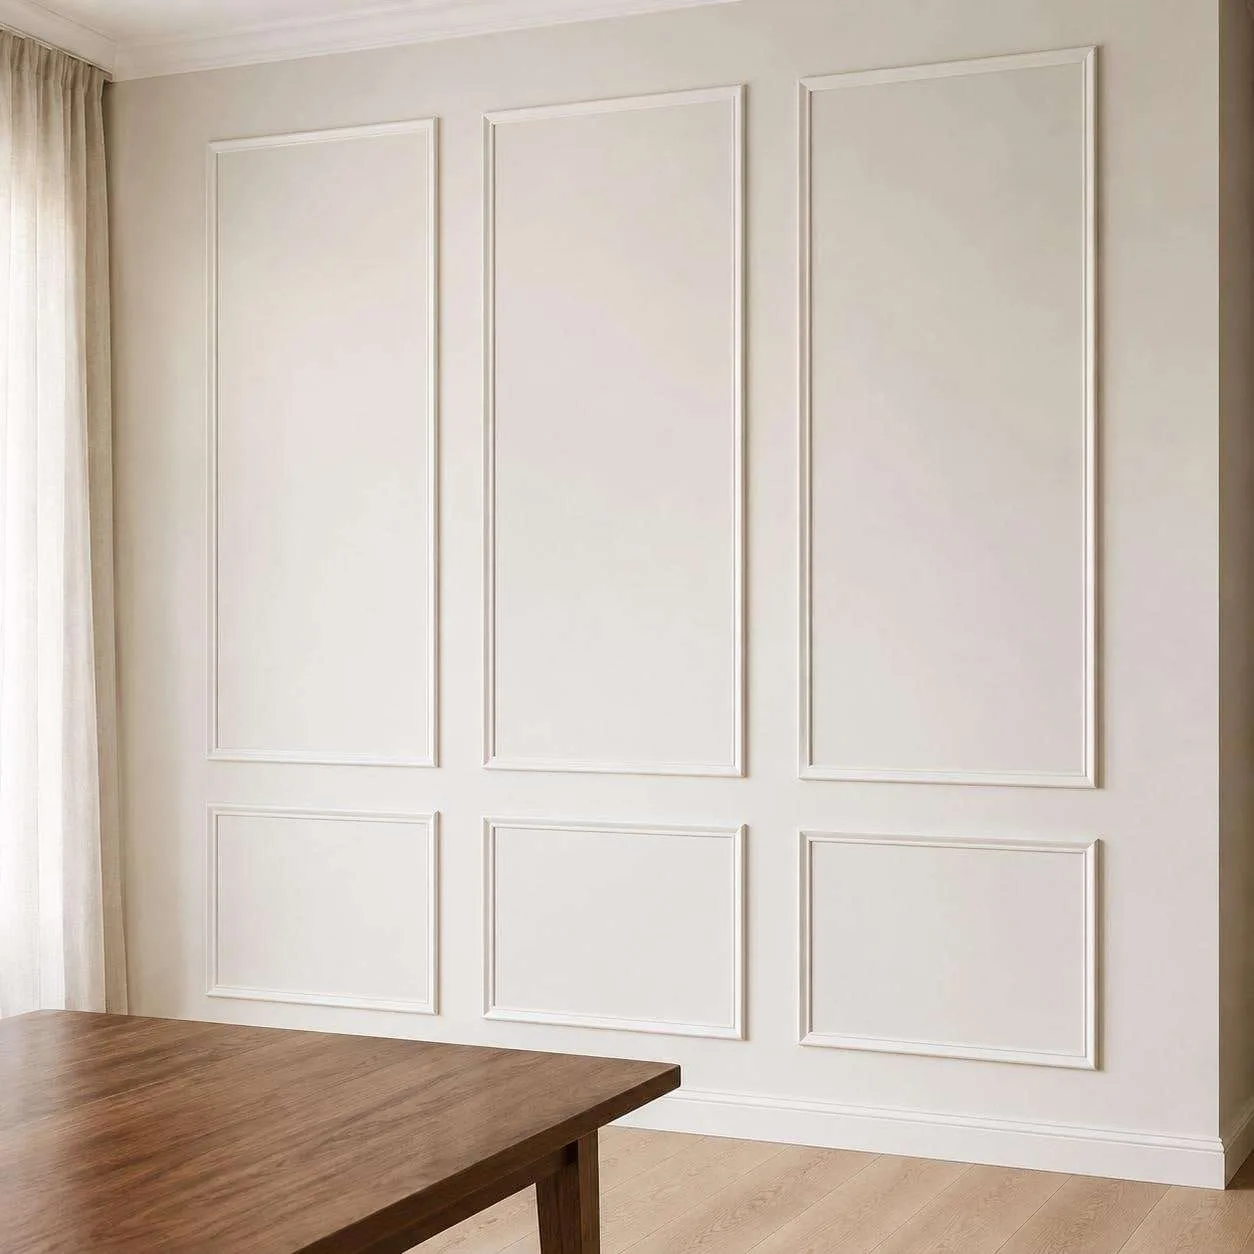


Wainscoting kits for this project
Pre-cut kits that fit this project. Open a kit for photos, options and pricing.
01 / KITLiving Room Entryway Picture Frame Wainscoting Kit | Easy Installation
From $51.25
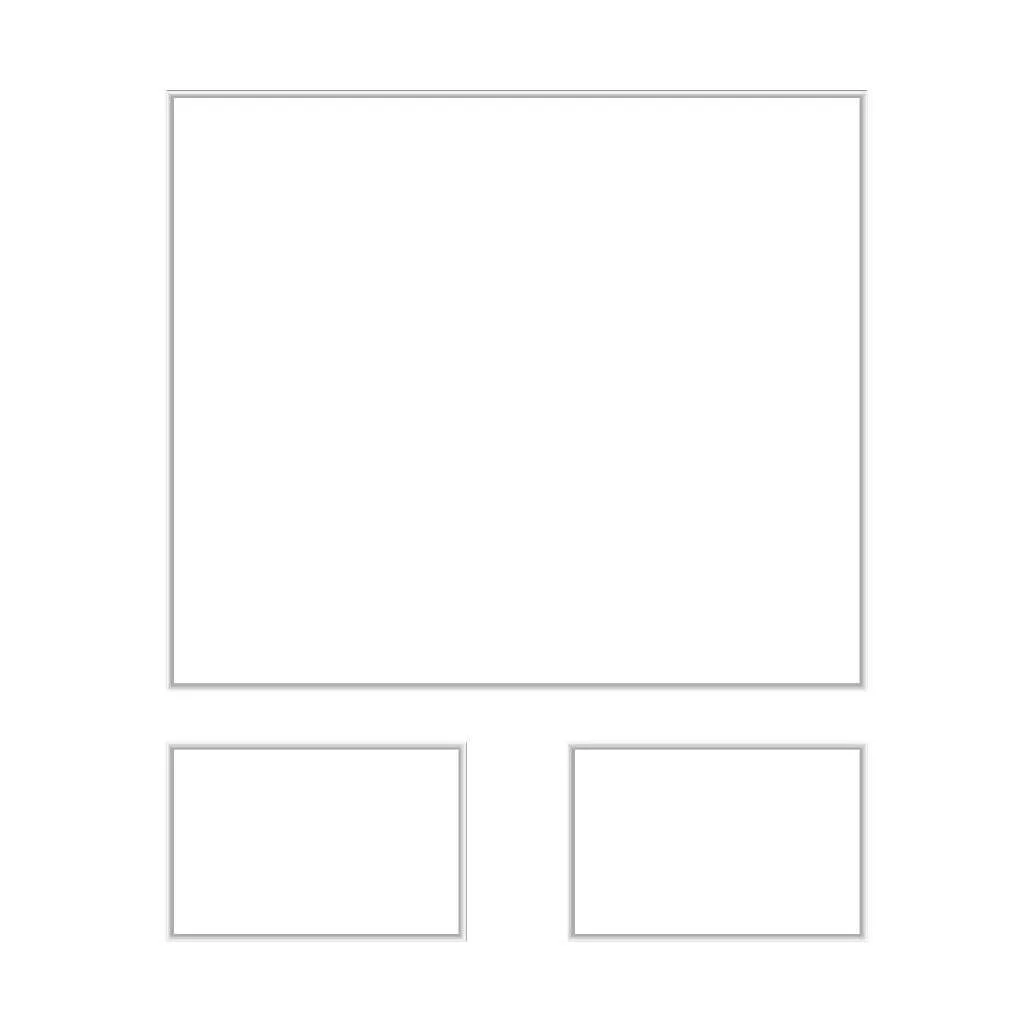
View kit02 / KITWainscoting Accent Wall Kit: Effortless Elegance with Precut Factory Primed Wall Molding, Create 1 Upper and 2 Bottom Frames
From $123.00
View kit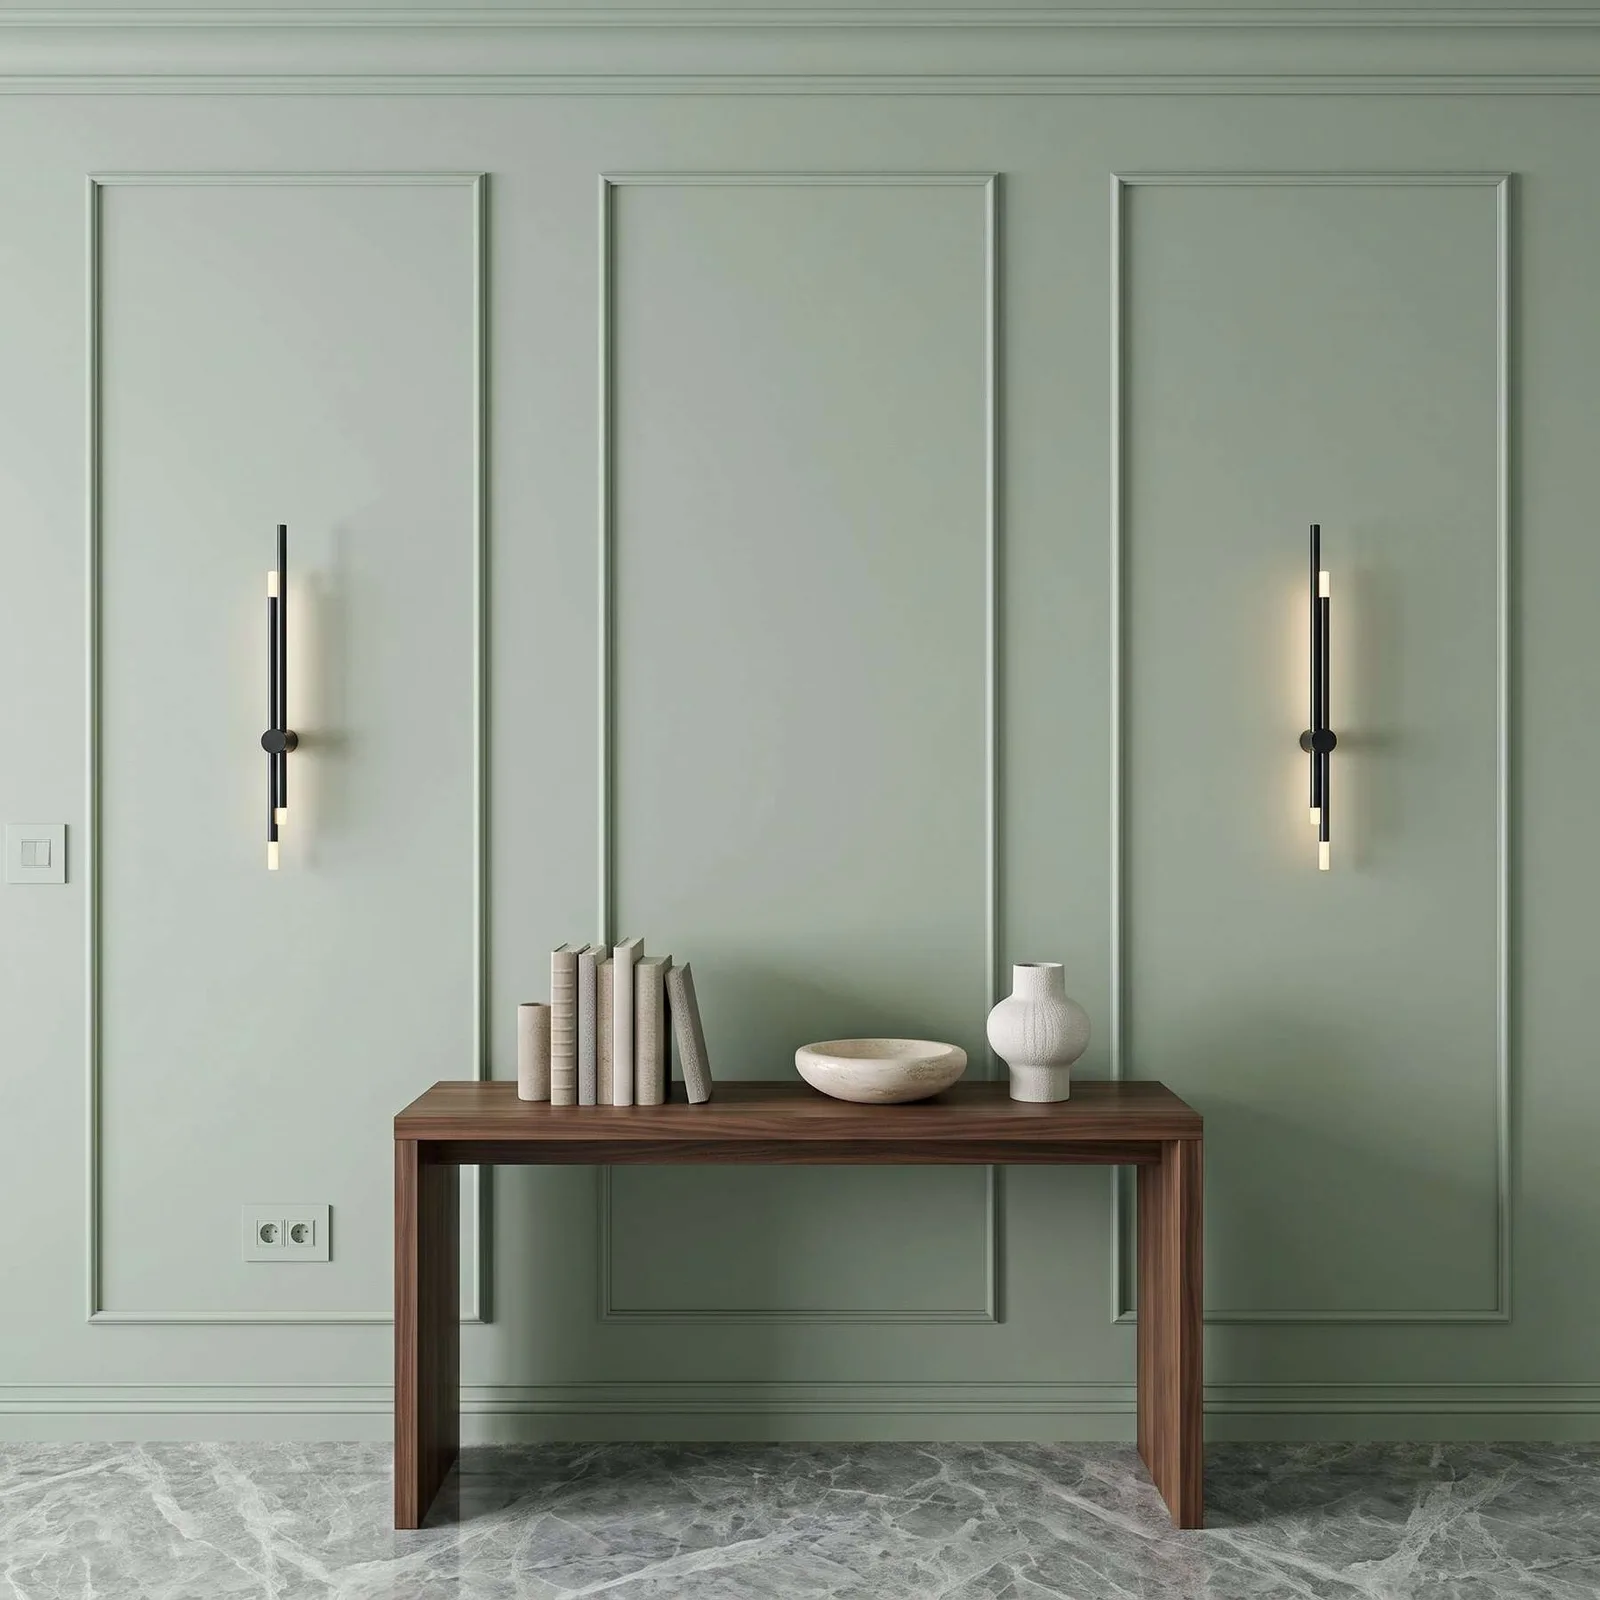 03 / KIT
Wainscoting Ready to Go Wall Molding Kit, 3 Upper & 3 Bottom Frames | Easy Installation
From $75.00
View kit 04 / KIT
French Picture Frame Wainscoting Wall Molding Kit | Self-Adhesive Easy Installation
From $189.70
View kit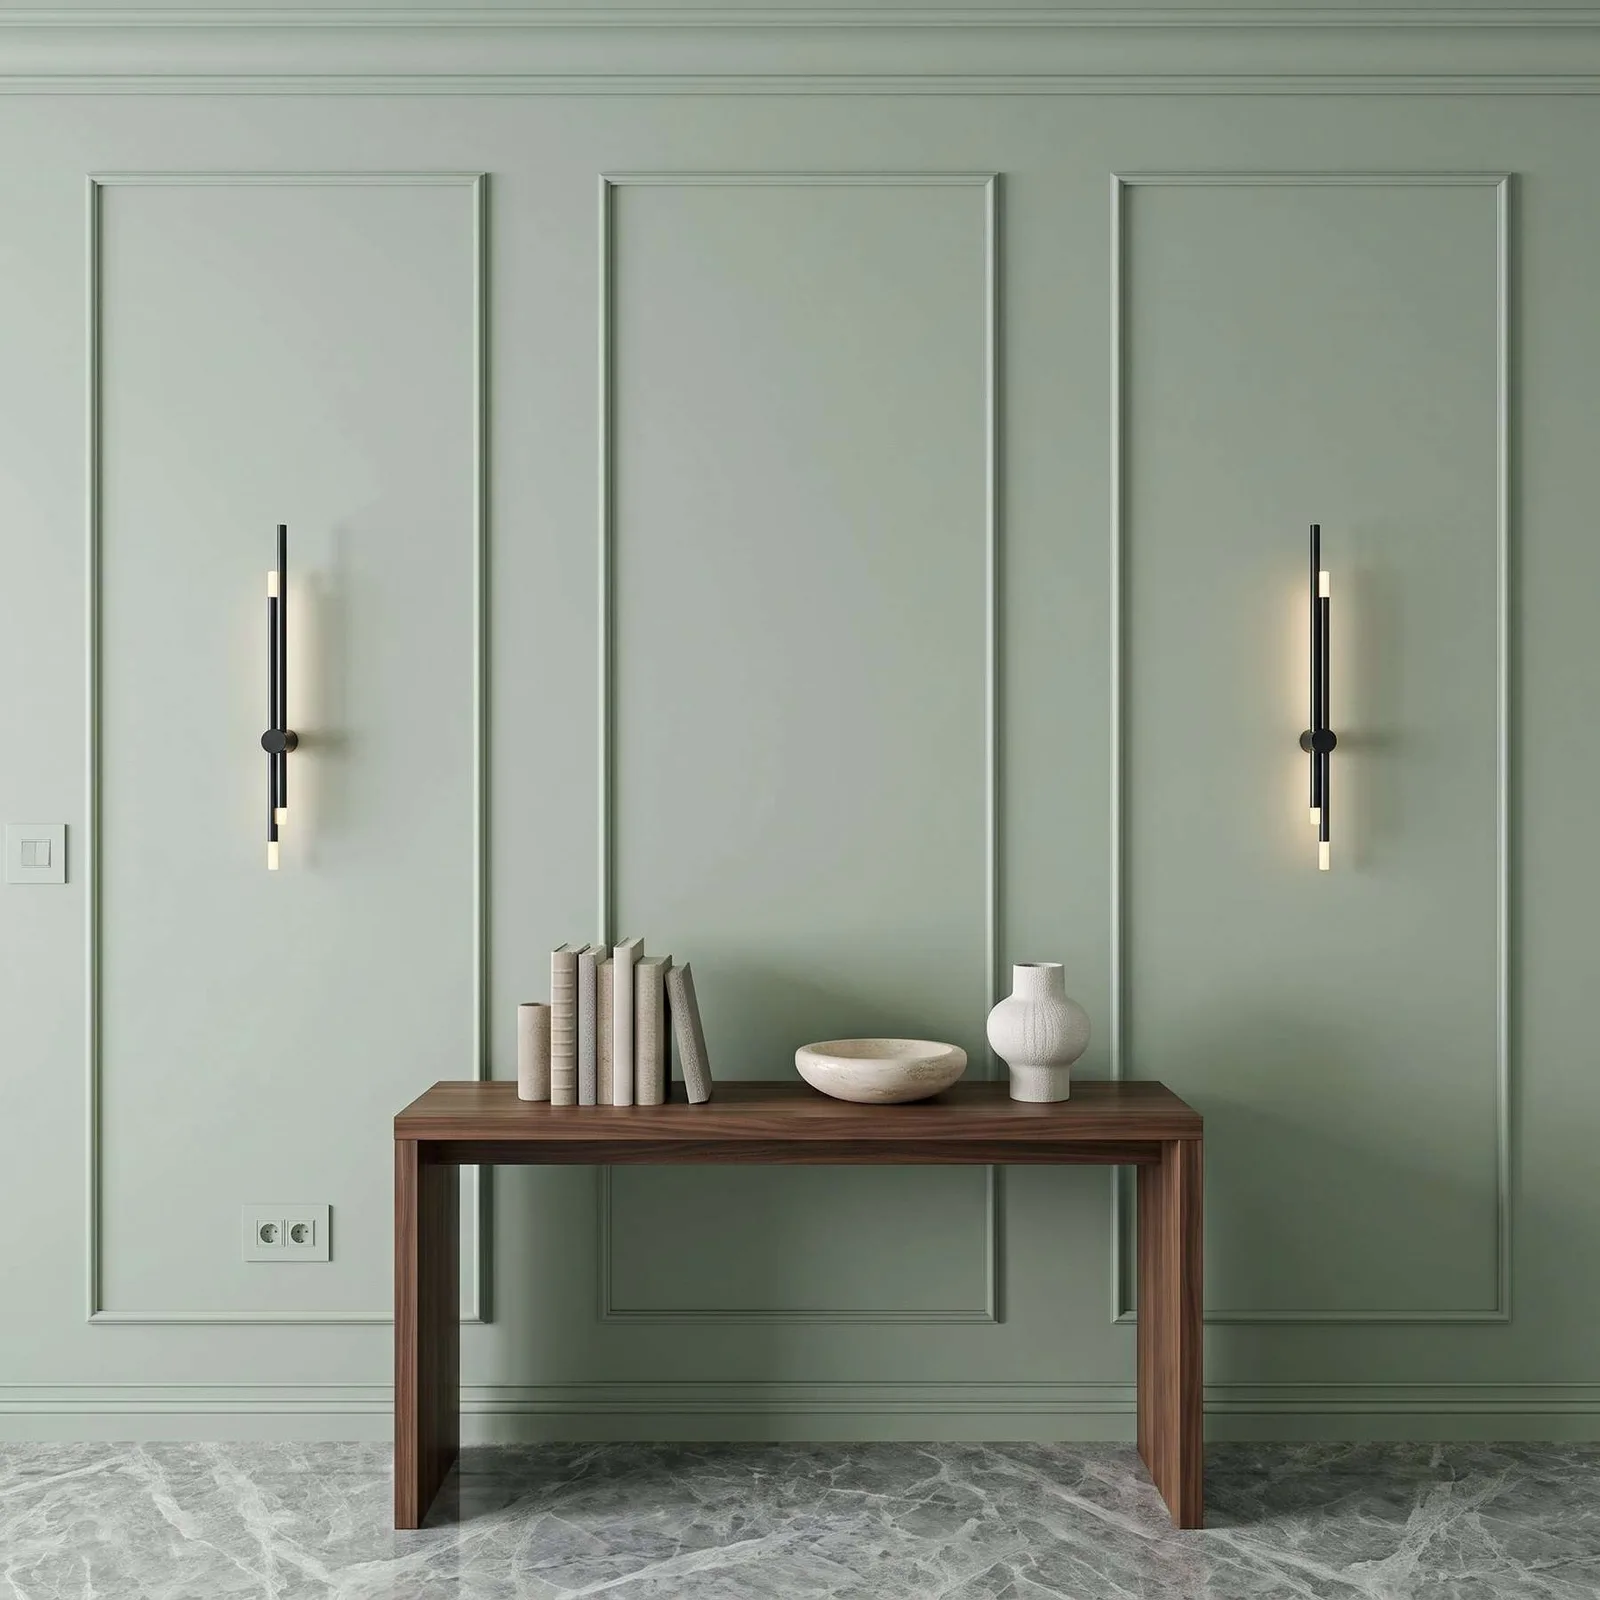 05 / KIT
Wainscoting Panels Kit, 3 Upper & 3 Bottom Frames | Pre-Cut Paintable Wall Molding
From $75.00
View kit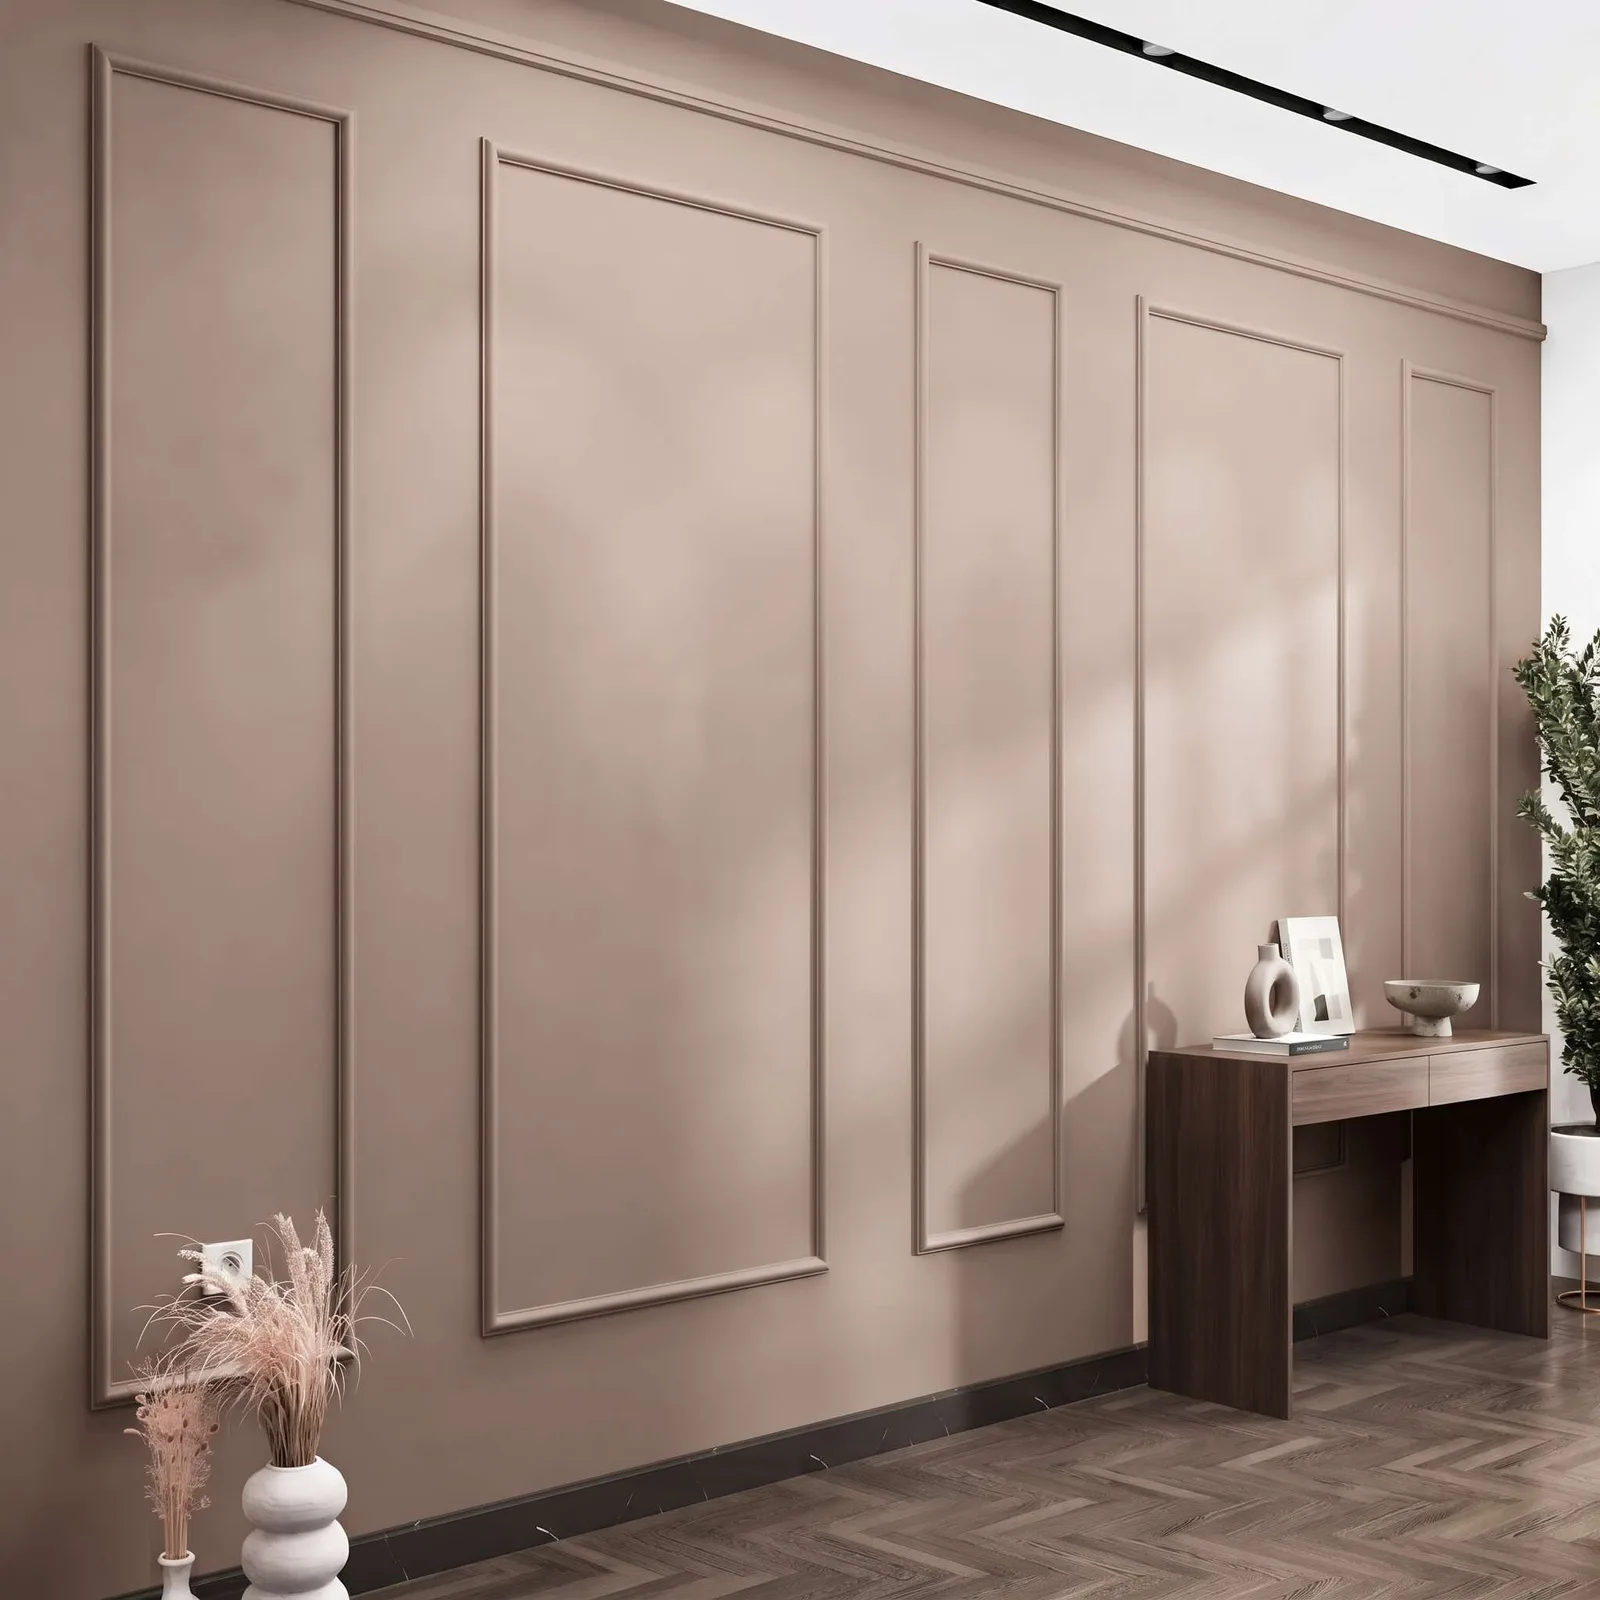 06 / KIT
Wainscoting Peel and Stick Wall Molding Kit, 4 Upper, 4 Middle, and 4 Bottom Frames | Easy Installation
From $170.00
View kit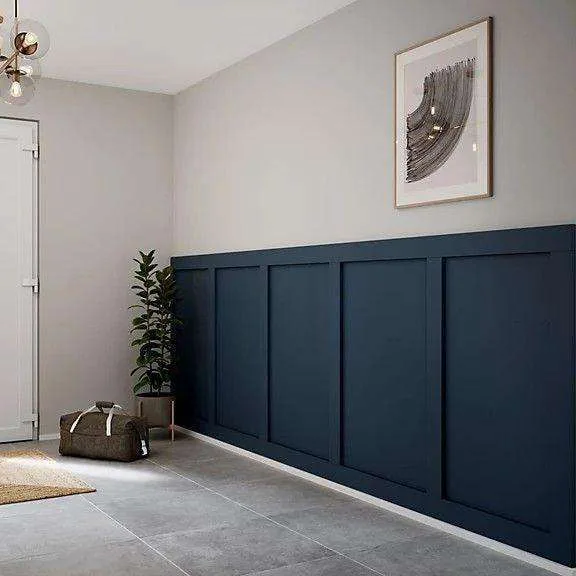 07 / KIT
Shaker Board and Batten Grid Wainscoting Kit, 1 to 5 Sets | Self-Adhesive Easy Installation
From $69.80
View kit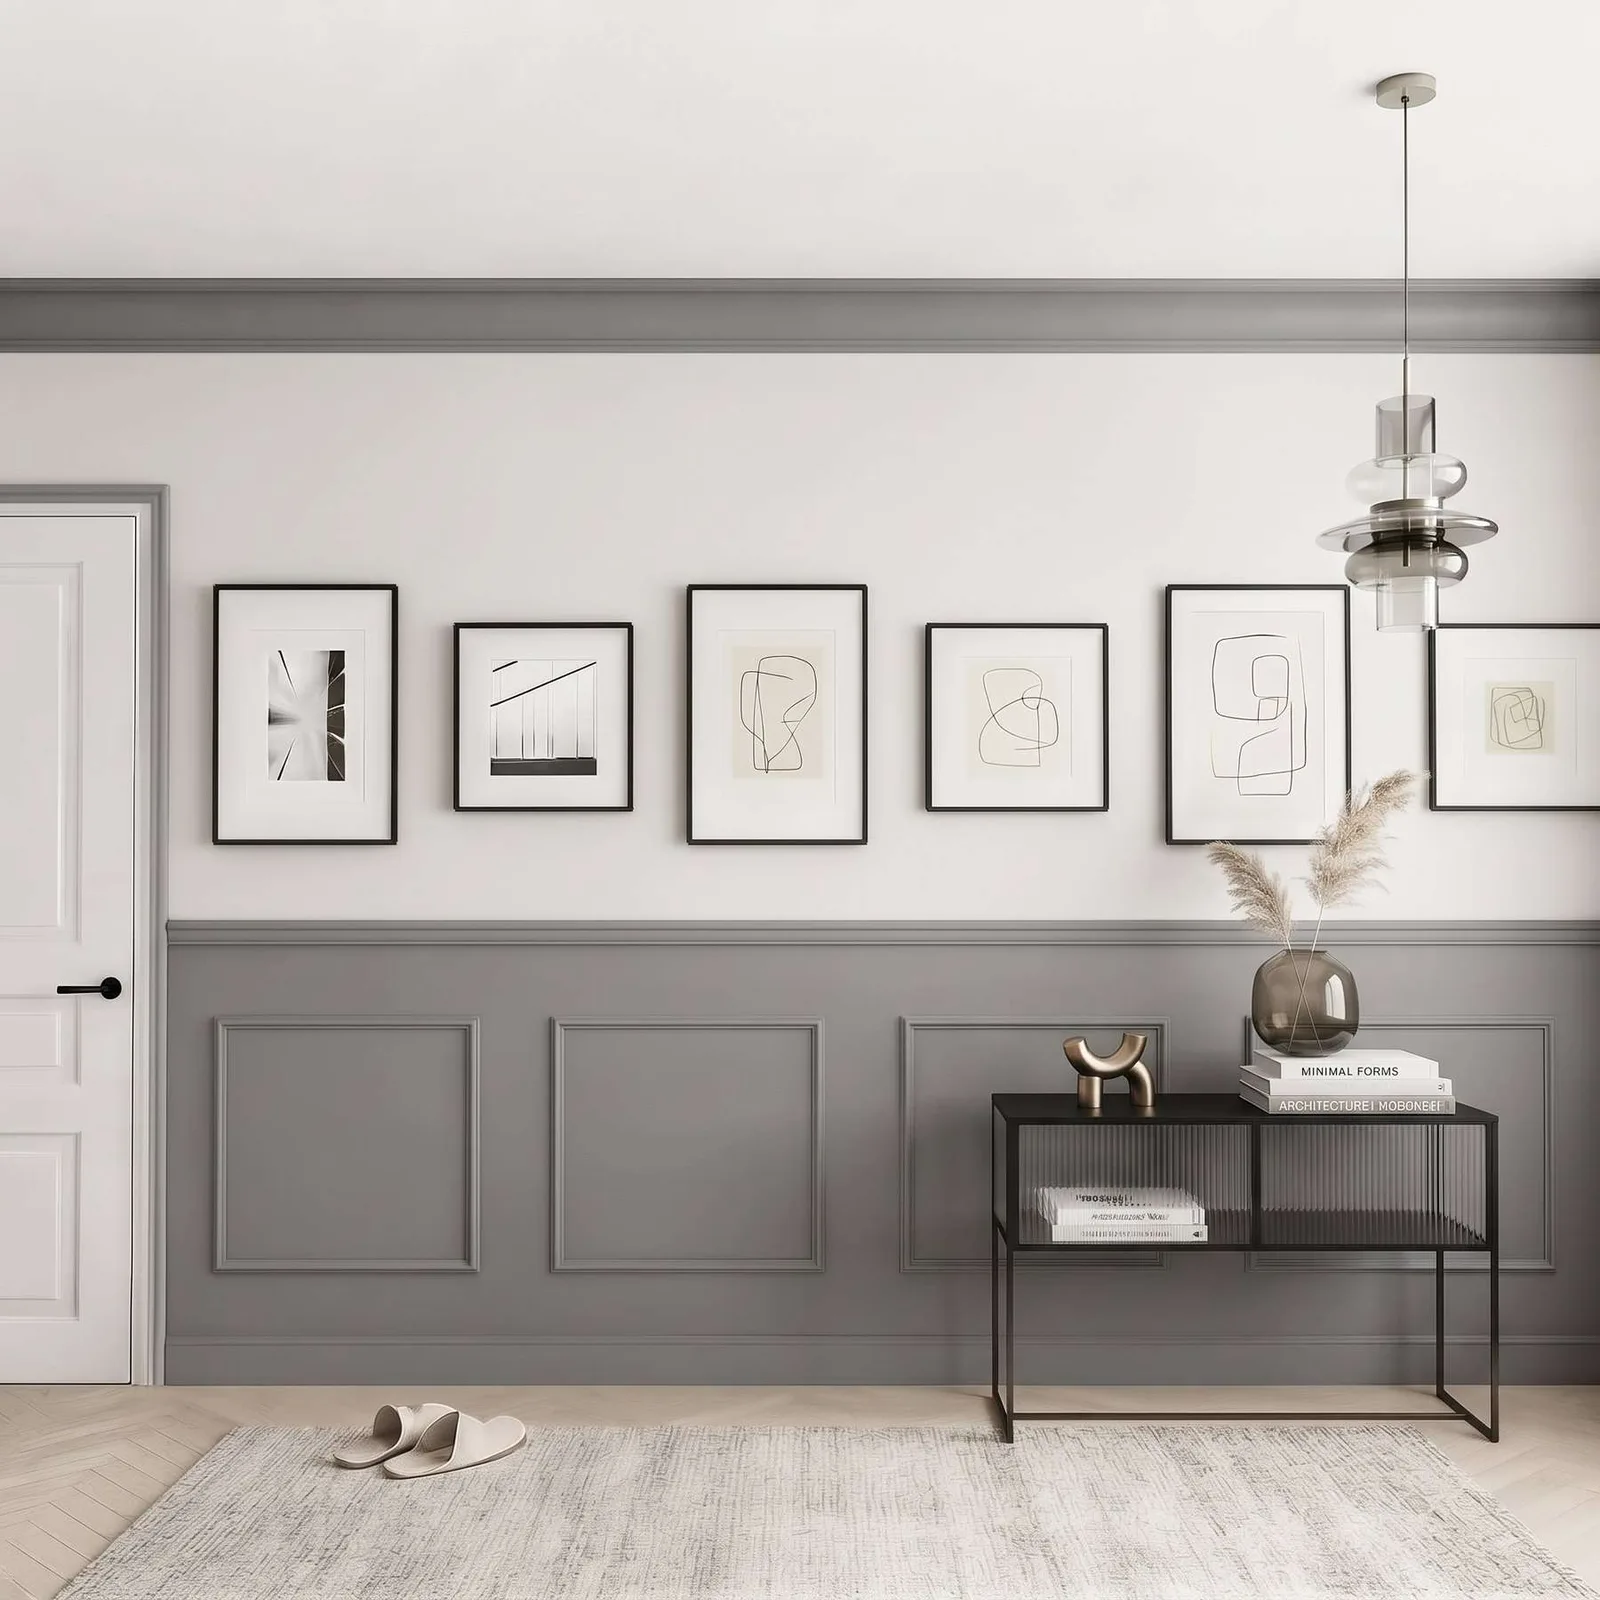 08 / KIT
Half Wall Paneling Ready to Assemble Wainscoting Kit, 4 Bottom Frames | Easy Installation
From $110.00
View kitKit prices on this page
| Kit | Material | From | Up to | Adhesive option |
|---|---|---|---|---|
| Living Room Entryway Picture Frame Wainscoting Kit | Polystyrene | $51.25 | $273.00 | Yes |
| Wainscoting Accent Wall Kit | Polystyrene | $123.00 | $155.00 | Yes |
| Wainscoting Ready to Go Wall Molding Kit | Polystyrene | $75.00 | $297.00 | Yes |
| French Picture Frame Wainscoting Wall Molding Kit | Polystyrene | $189.70 | $246.74 | Yes |
| Wainscoting Panels Kit | Polystyrene | $75.00 | $297.00 | Yes |
| Wainscoting Peel and Stick Wall Molding Kit | Polystyrene | $170.00 | $199.00 | Yes |
| Shaker Board and Batten Grid Wainscoting Kit | Polystyrene | $69.80 | $502.00 | Yes |
| Half Wall Paneling Ready to Assemble Wainscoting Kit | Polystyrene | $110.00 | $127.00 | Yes |
Sizes and options available
| Option | Choices |
|---|---|
| Size | 2.5 cm / 1 in · 4 cm / 1.6 in · 10 cm / 3.9 in |
| Installation Type | Non-Adhesive · Self-Adhesive |
| Panel Quantity | 1 Panel · 2 Panel · 3 Panel · 4 Panel · 5 Panel |
| Buying Options | Single Frame Set · Double Frame Set · Triple Frame Set · Four-Frame Set · Five-Frame Set |
| Design | 1 Design Set · 2 Design Set · 3 Design Set |
| Panel Set | 1 Set (120 cm / 47.2 in) · 2 Set (240 cm / 94.5 in) · 3 Set (360 cm / 141.7 in) · 4 Set (480 cm / 189 in) · 5 Set (600 cm / 236.2 in) |
Material and profile specifications
| Specification | Value |
|---|---|
| Panel molding profile | 2.5 cm (about 1 in); 4 cm made to order |
| Stock length | 240 cm sticks |
| Material | Hard polystyrene polymer (not wood or foam); MDF for shaker, board and batten and arched kits |
| Finish | Factory primed, sandable and paintable |
| Installation options | Non-adhesive (construction adhesive or joint compound) or self-adhesive backing |
| Kit cutting | Pieces pre-cut to length and mitered at 45° |
Common heights by ceiling height
| Ceiling height | Chair rail / wainscoting at 1/3 | Taller wainscoting at 40% | Two-thirds wall treatment |
|---|---|---|---|
| 8 ft | 32 in | 38 in | 64 in |
| 9 ft | 36 in | 43 in | 72 in |
| 10 ft | 40 in | 48 in | 80 in |
| 12 ft | 48 in | 58 in | 96 in |
Installation steps
order: 1; text: Measure each wall separately and mark doors, windows, corners, and fixed fixtures that interrupt the panel run.
order: 2; text: Establish a level reference line for the top of the planned assembly rather than following an uneven floor line.
order: 3; text: Dry-layout the full wall and adjust panel or frame widths so narrow leftover sections are avoided at the ends.
order: 4; text: Cut and label pieces only after the complete wall layout and joint positions have been verified.
order: 5; text: Install in the sequence specified for the selected system and use only fastening and finishing products approved by its manufacturer.
items: tape measure · pencil · level · layout spacers · product-compatible cutting tools · manufacturer-approved fastening materials · eye protection
Questions people ask
How do you cut wainscot?
Wainscot frame pieces are cut at 45 degrees so each corner forms a clean miter. A miter box with a fine-tooth saw cuts polystyrene cleanly. With a pre-cut kit, all pieces arrive already cut to length and mitered.
How do you nail wainscoting?
Lightweight polystyrene molding does not need nails; adhesive or joint compound holds it. Heavier MDF boards can be pinned with a brad nailer into the studs while the adhesive sets.
Trace the details
Sources & dates
Prices, options and photos come from our product catalog on the date shown. Layout tables are planning estimates; measure your wall before ordering.
- DecoMoldings product catalogRecorded November 9, 2026
- Layout and quantity methodologyRecorded November 9, 2026