answer · Wall Molding
How to Install Wall Trim: DIY Wall Molding Guide
DIY wall molding: layout, adhesive or joint compound, corners, caulk and paint. Pre-cut kits and a quantity calculator.
Project calculator
Guide
Adding wall trim yourself takes a weekend when the pieces arrive cut. The skills involved are measuring a level layout, fixing the pieces with adhesive, and finishing the joints so the trim looks built in. This guide covers the methods, the materials and the finishing steps for picture frame and panel molding, with our pre-cut kits and a calculator to check how much you need.
Choosing how to fix the trim
There are three practical ways to fix lightweight polystyrene trim: construction adhesive, joint compound (plaster), or silicone dots. Joint compound is the most forgiving: applied to the back and to every joint, excess wipes off and sands smooth. Silicone dots hold well but any squeeze-out must be cleaned straight away. Self-adhesive kits skip this step.
Corners and joints
Outside and inside corners of frames are 45 degree miters. Pre-cut kits arrive mitered, so the main task is lining the corners up. Where two straight lengths meet on a long run, butt them tightly and fill the joint before painting.
Caulk and paint
Run a thin bead of paintable caulk along both edges of the trim where it meets the wall, smooth it with a damp finger, and let it dry. Our trim is factory primed, so one or two coats of paint finish the job. Painting trim and wall in the same color gives the most modern result.
Real installations from our kits


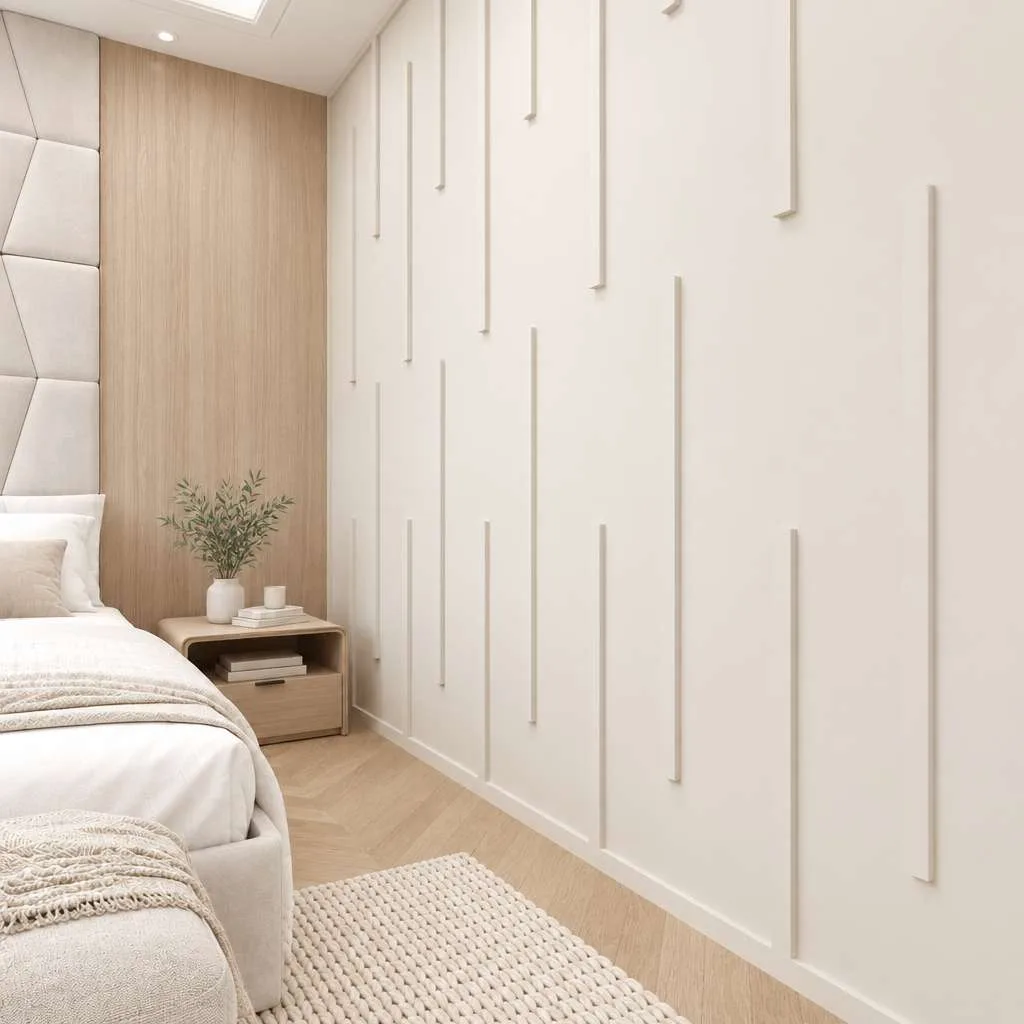

Wall Molding kits for this project
Pre-cut kits that fit this project. Open a kit for photos, options and pricing.
01 / KITMinimalist Flat Picture Frame Wall Molding Kit | Self-Adhesive Easy Installation
From $186.00
View kit02 / KITWall Panels for Living Room, Flat Wall Molding Kit | Pre-Cut & Primed
From $205.00
View kit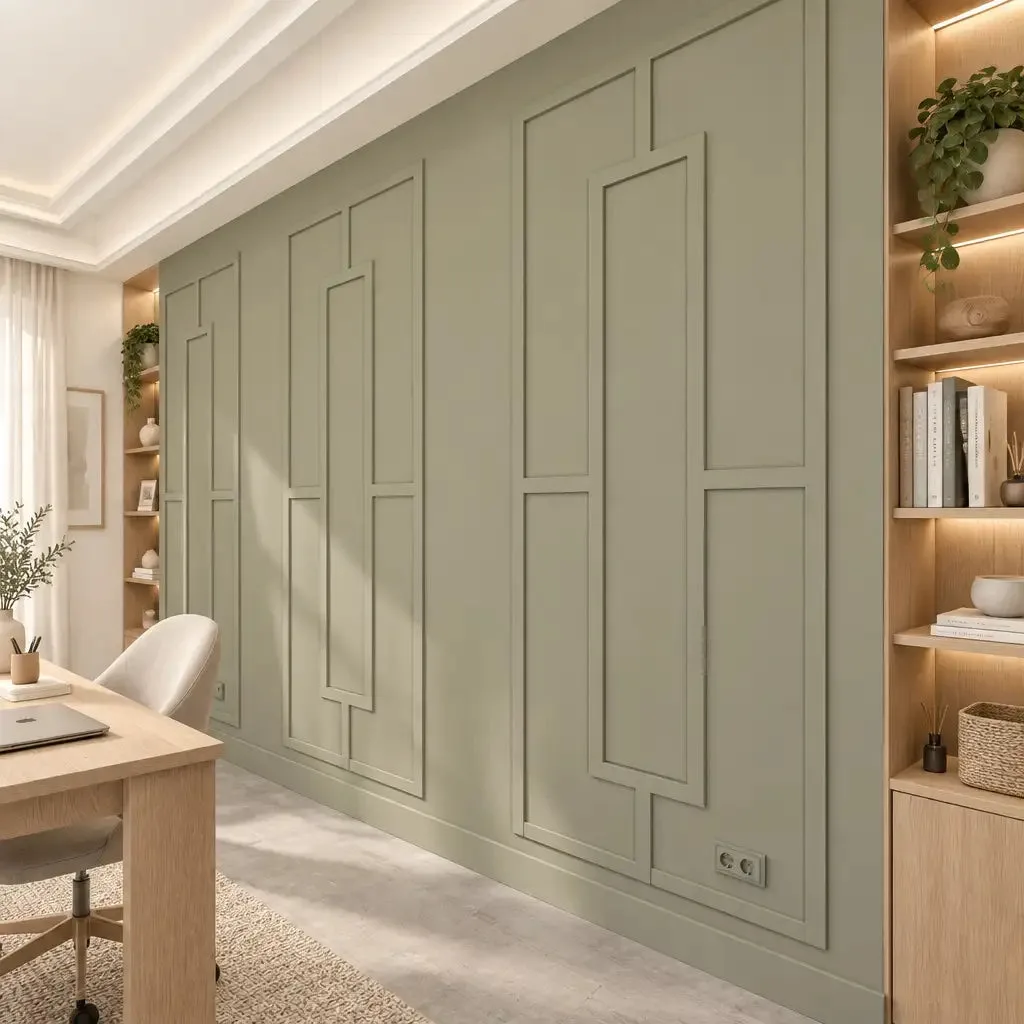 03 / KIT
Modern Geometric Wainscoting Design Wall Molding Kit, Ready to Assemble | Pre-Cut & Primed
From $103.00
View kit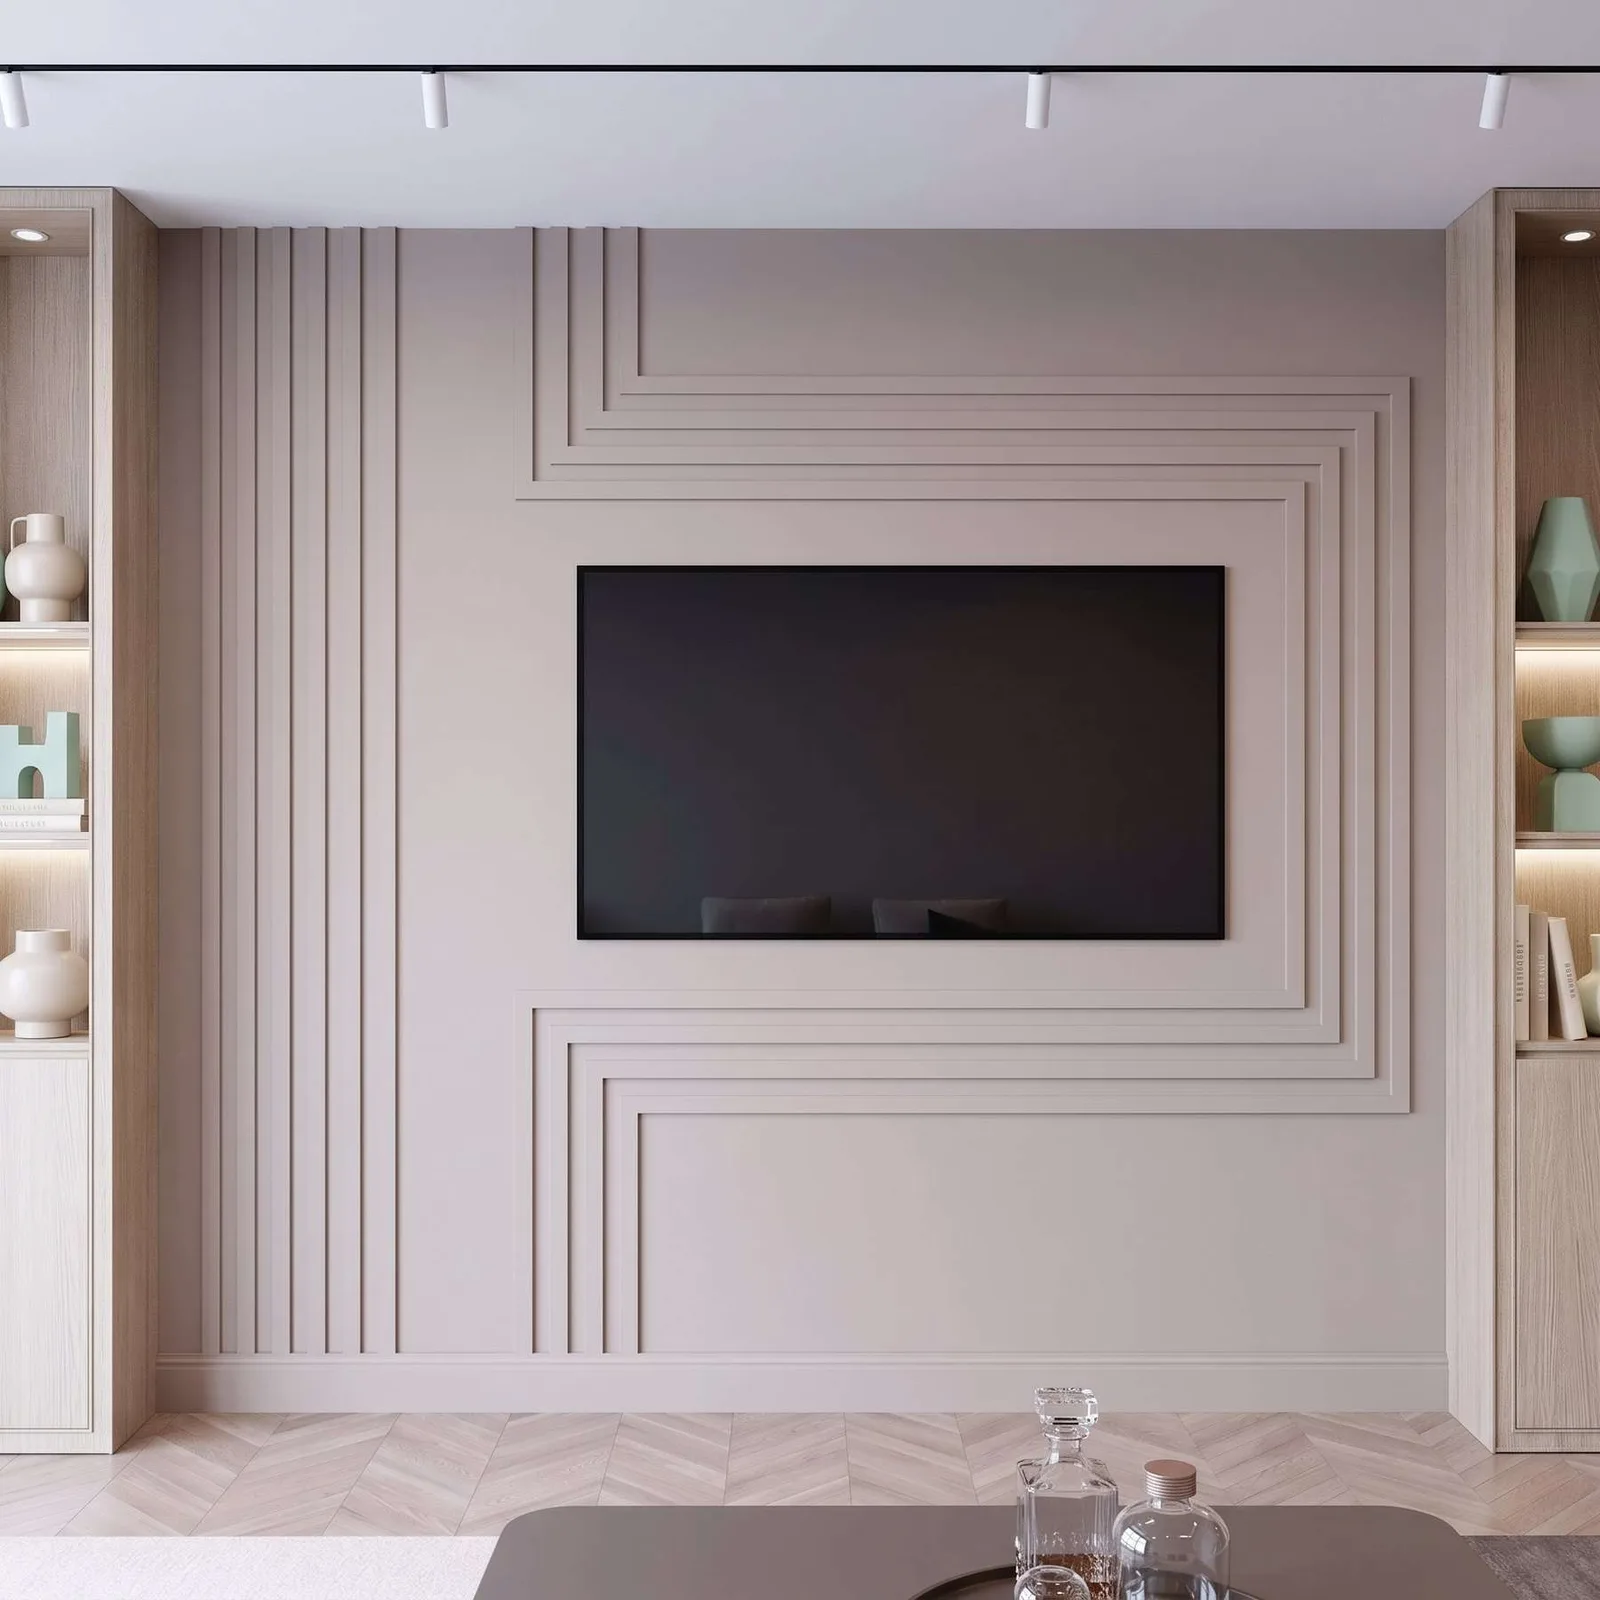 04 / KIT
Peel Stick TV Unit Design Wall Molding, Ready to Assemble Wall Molding Kit | Pre-Cut & Primed
From $220.00
View kit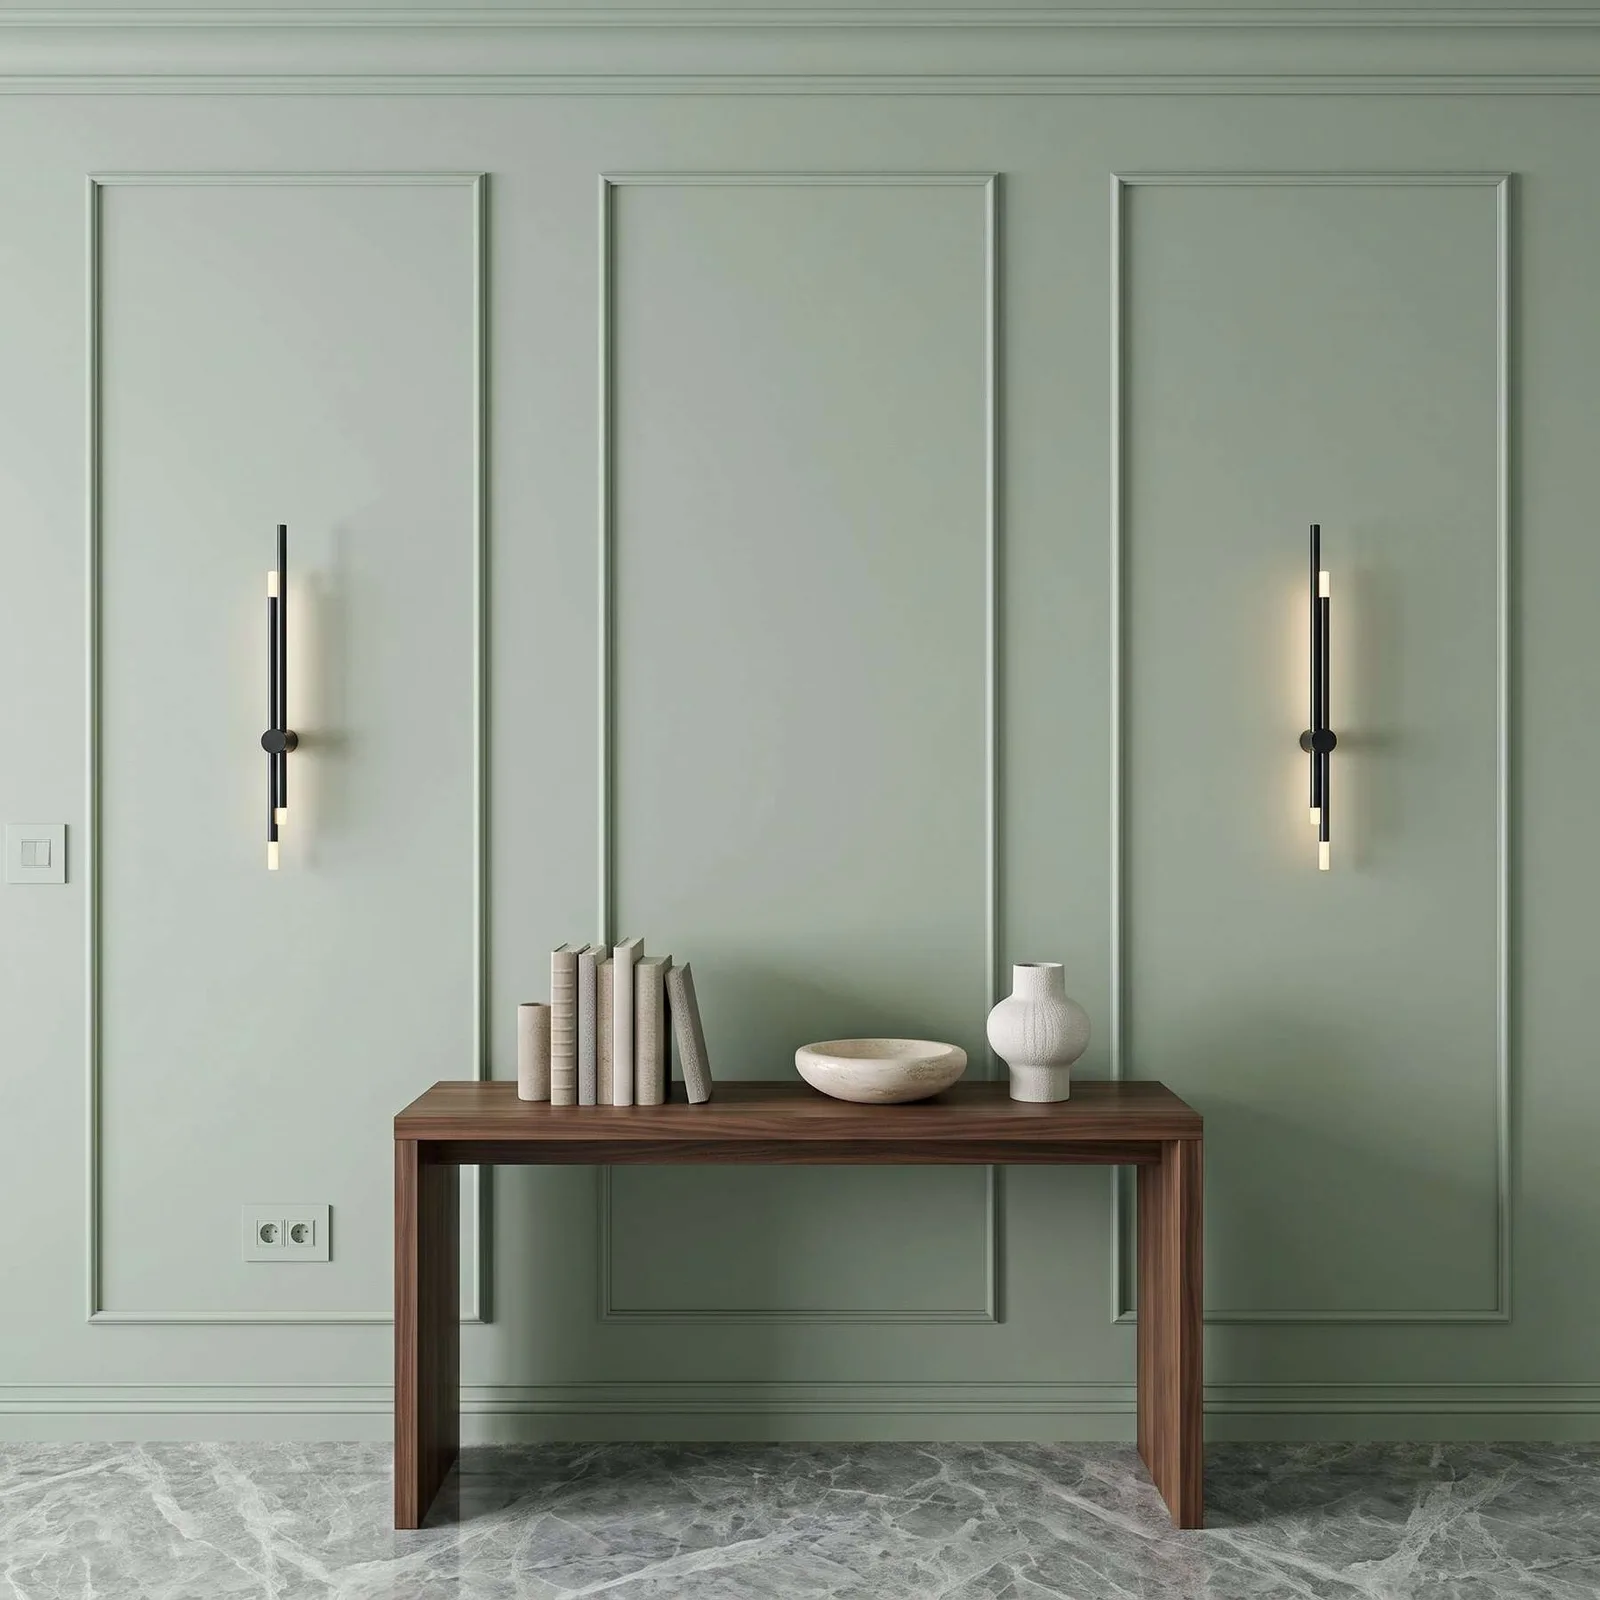 05 / KIT
Wainscoting Ready to Go Wall Molding Kit, 3 Upper & 3 Bottom Frames | Easy Installation
From $75.00
View kit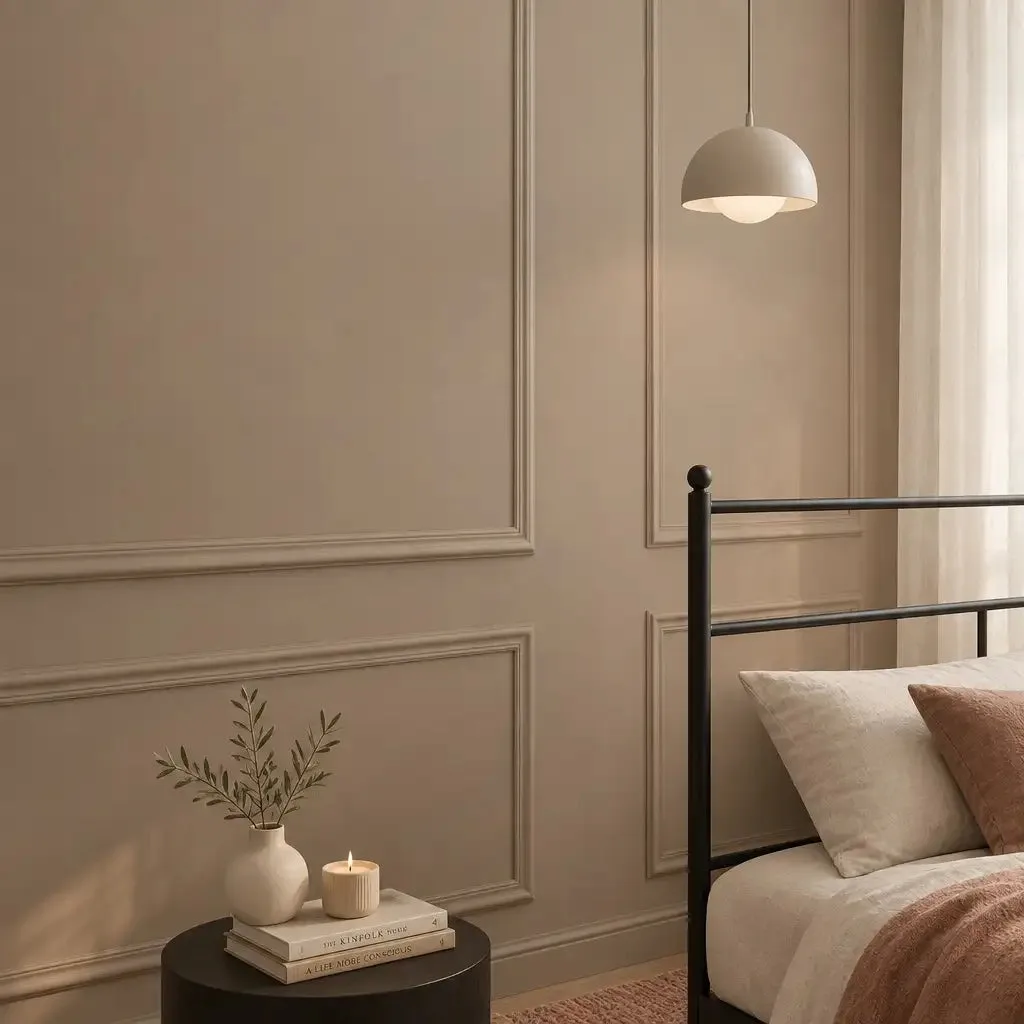 06 / KIT
Wall Trim Molding Kit, 3 Upper, 3 Middle & 3 Bottom Frames | Pre-Cut Ready to Assemble
From $90.00
View kit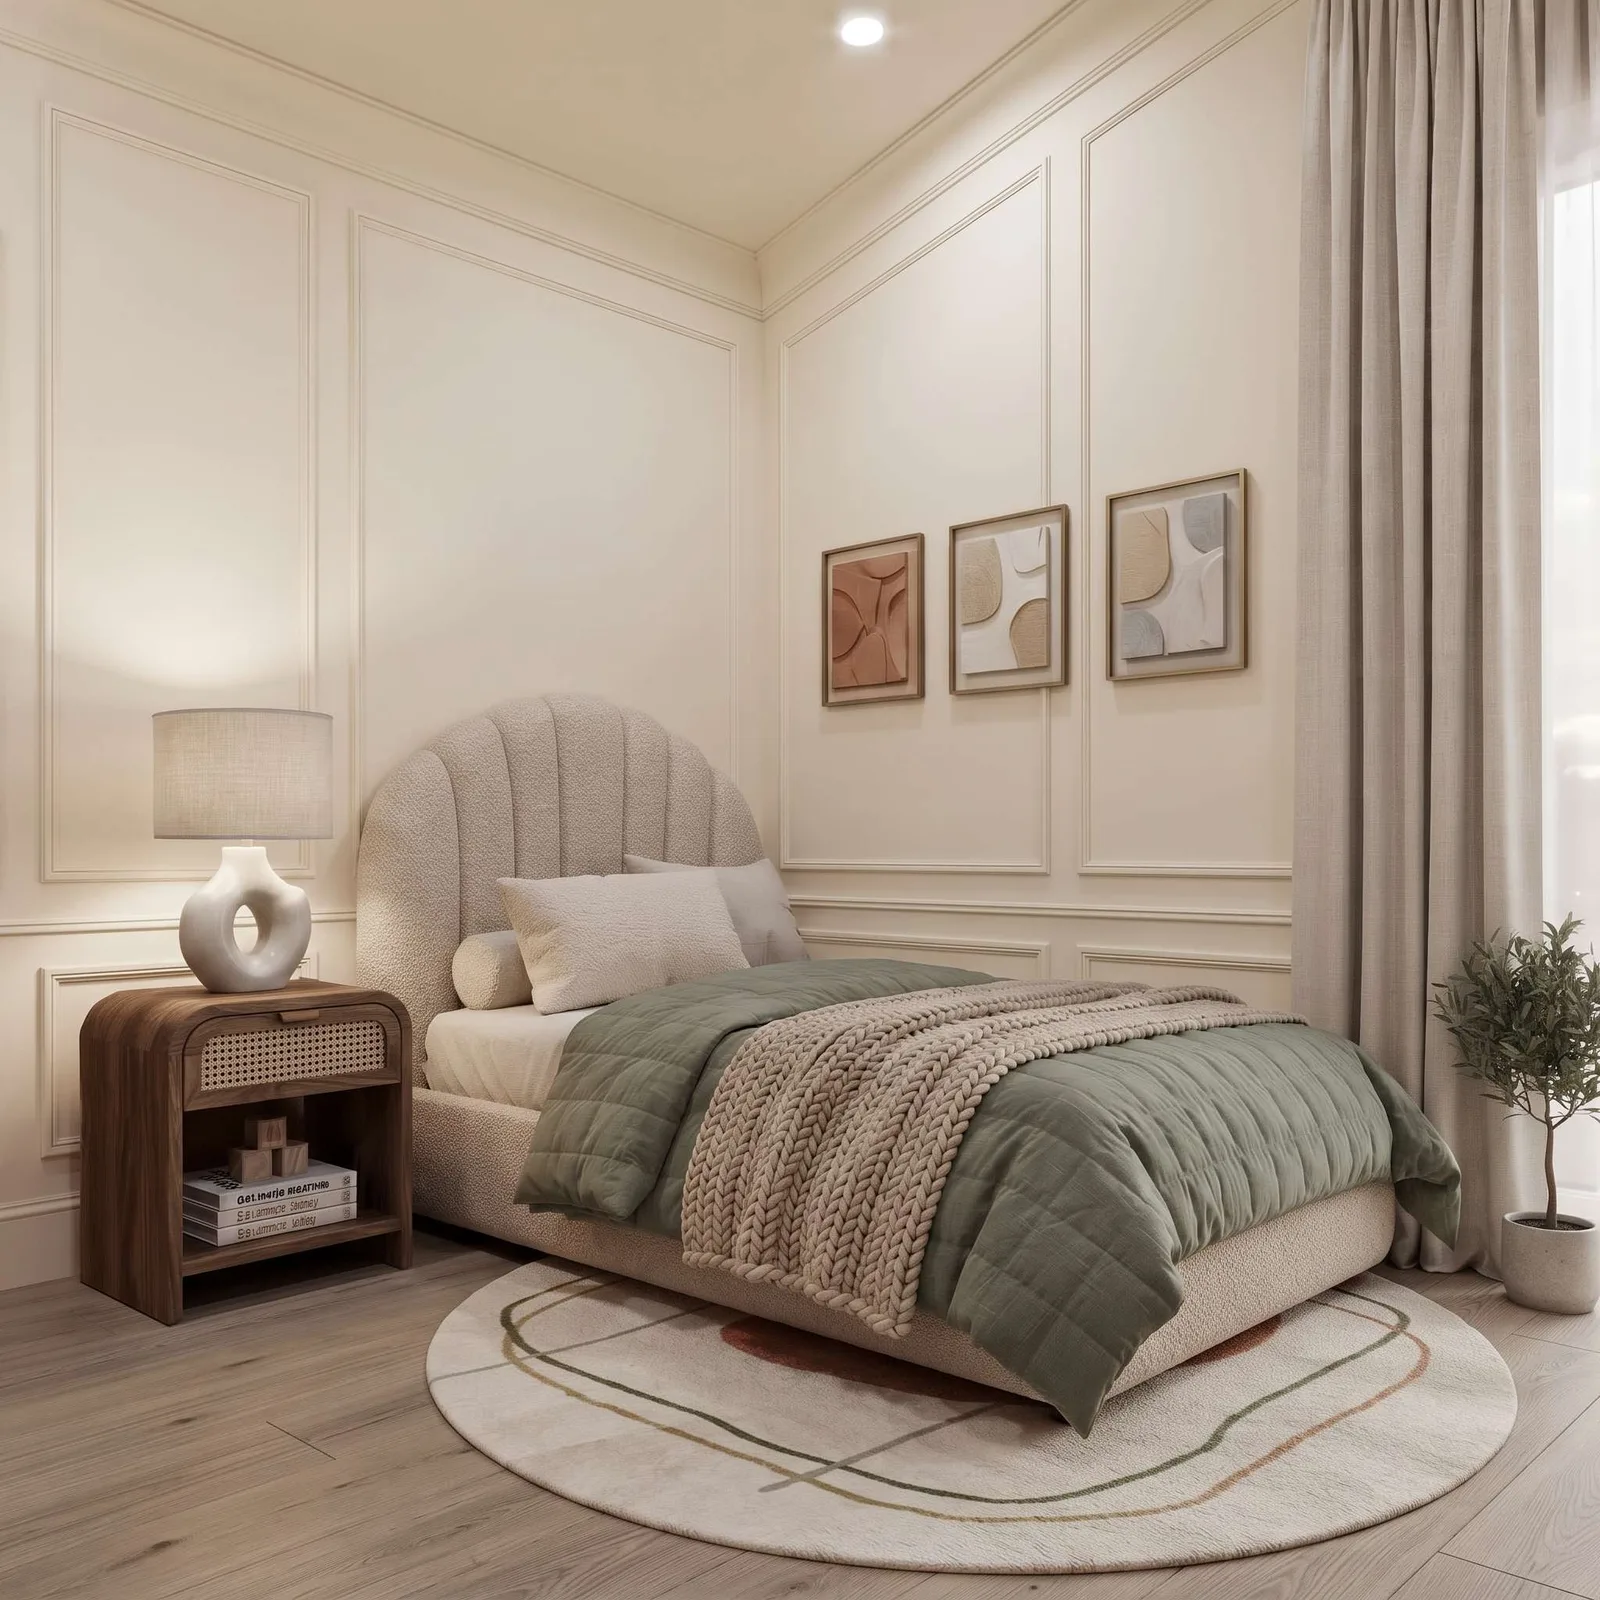 07 / KIT
Chair Rail Wall Molding Kit, 3 Upper & 3 Bottom Picture Frames | Easy Installation
From $165.00
View kit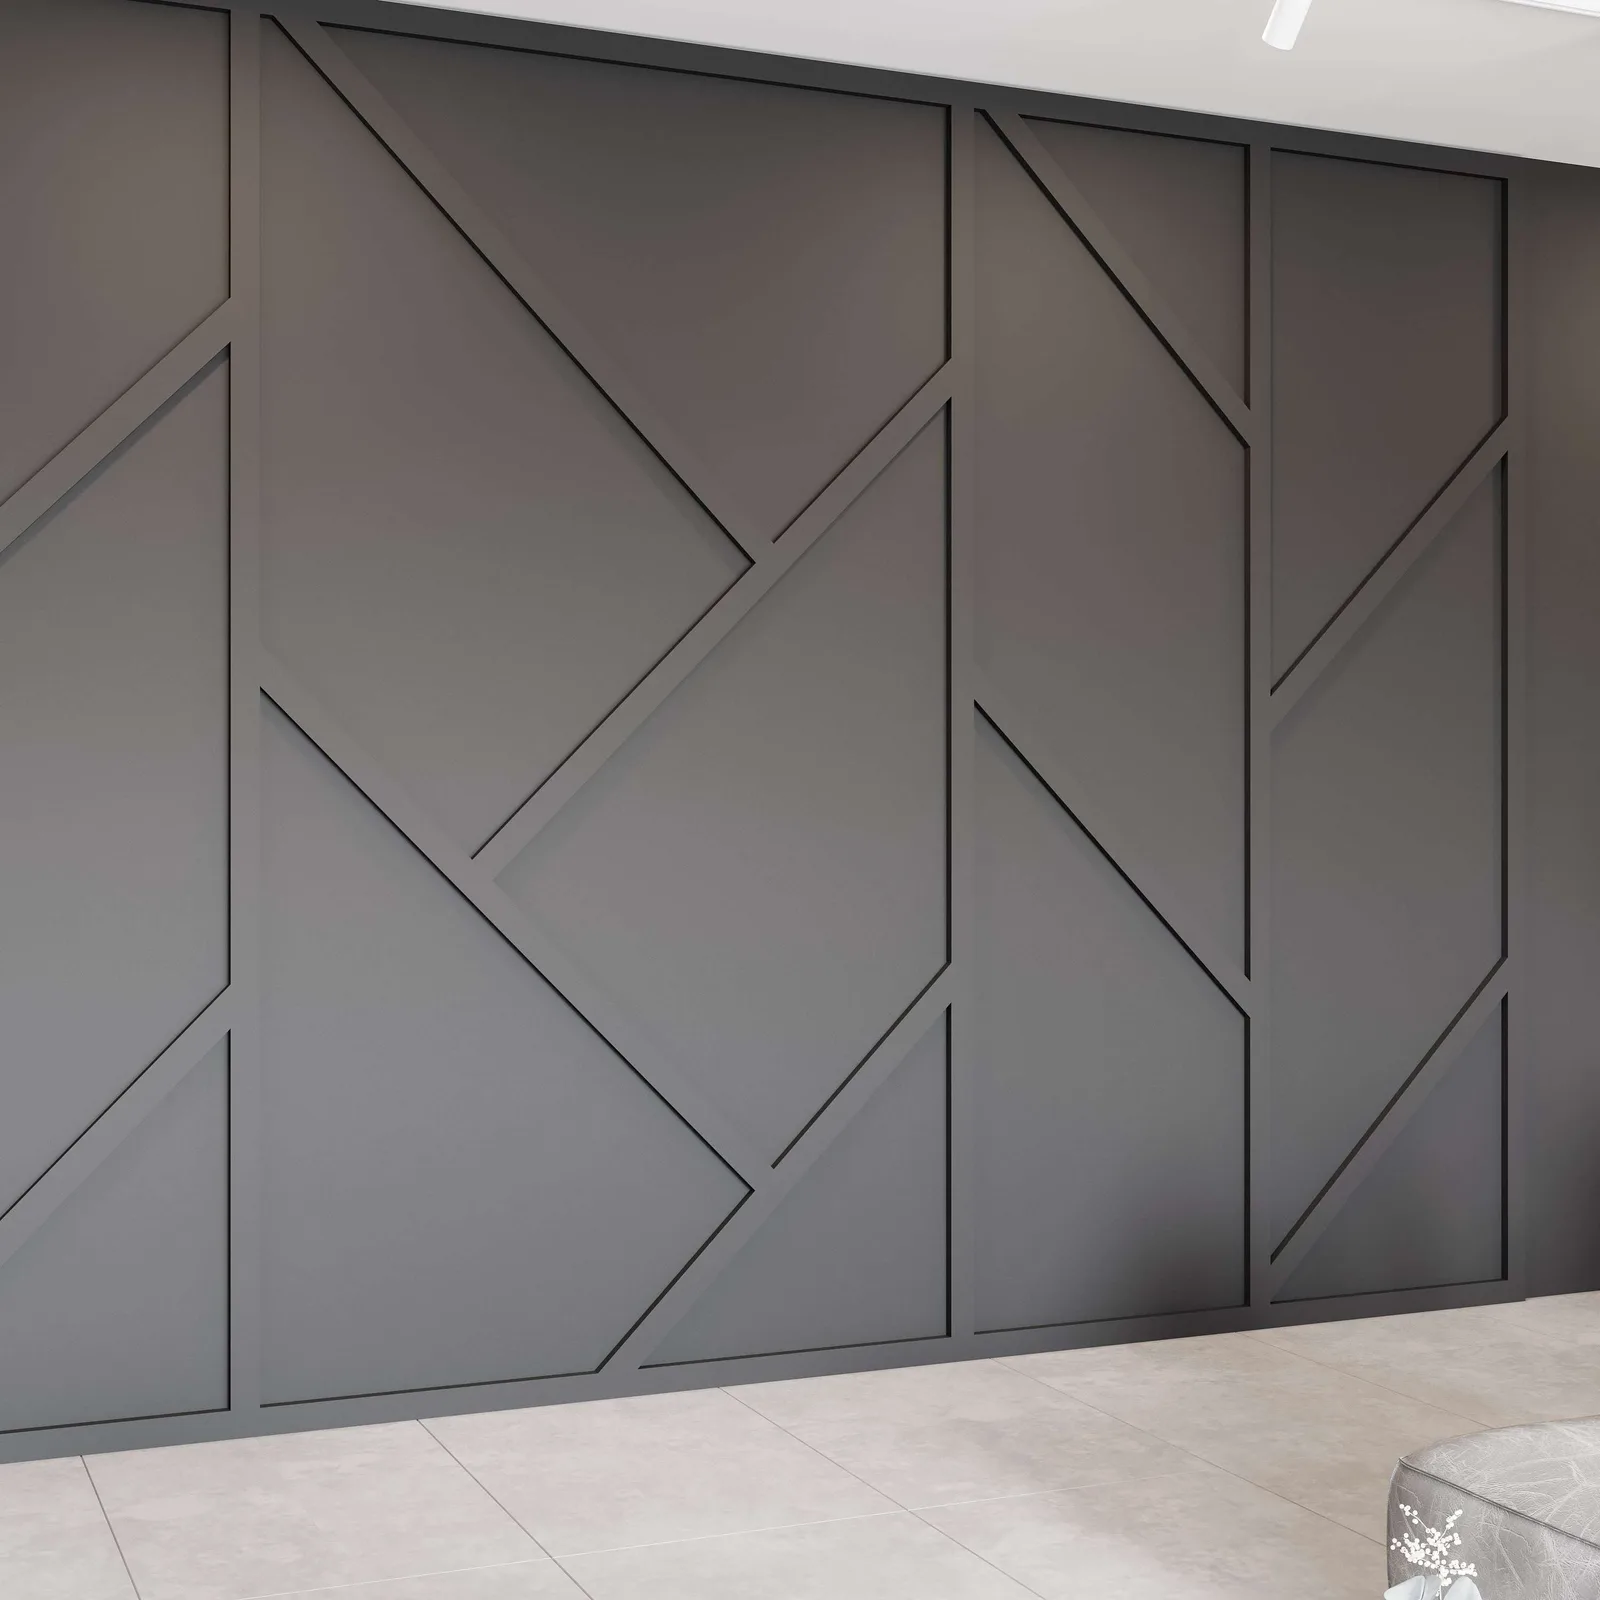 08 / KIT
Geometric Asymmetric Wall Molding Kit, Easy Installation for Living Areas | Pre-Cut & Primed
From $202.00
View kitKit prices on this page
| Kit | Material | From | Up to | Adhesive option |
|---|---|---|---|---|
| Minimalist Flat Picture Frame Wall Molding Kit | Polystyrene | $186.00 | $188.00 | Yes |
| Wall Panels for Living Room | Polystyrene | $205.00 | $207.00 | Yes |
| Modern Geometric Wainscoting Design Wall Molding Kit | Polystyrene | $103.00 | $312.00 | Yes |
| Peel Stick TV Unit Design Wall Molding | Polystyrene | $220.00 | $222.00 | Yes |
| Wainscoting Ready to Go Wall Molding Kit | Polystyrene | $75.00 | $297.00 | Yes |
| Wall Trim Molding Kit | Polystyrene | $90.00 | $297.00 | Yes |
| Chair Rail Wall Molding Kit | Polystyrene | $165.00 | $197.00 | Yes |
| Geometric Asymmetric Wall Molding Kit | Polystyrene | $202.00 | $204.00 | Yes |
Sizes and options available
| Option | Choices |
|---|---|
| Size | Standard kit · Single Frame · Three Frames · 2.5 cm / 1 in · 4 cm / 1.6 in |
| Installation Type | Non-Adhesive · Self-Adhesive |
| Buying Options | Single Frame Set · Double Frame Set · Triple Frame Set · Four-Frame Set · Five-Frame Set |
Material and profile specifications
| Specification | Value |
|---|---|
| Panel molding profile | 2.5 cm (about 1 in); 4 cm made to order |
| Stock length | 240 cm sticks |
| Material | Hard polystyrene polymer (not wood or foam); MDF for shaker, board and batten and arched kits |
| Finish | Factory primed, sandable and paintable |
| Installation options | Non-adhesive (construction adhesive or joint compound) or self-adhesive backing |
| Kit cutting | Pieces pre-cut to length and mitered at 45° |
Questions people ask
How do you caulk trim?
Cut the caulk nozzle small, run a thin continuous bead along the joint between trim and wall, then smooth it with a damp finger or sponge. Wipe off excess immediately and paint once it is dry.
How do you put up trim on a wall?
Mark a level layout, apply adhesive or joint compound to the back of each piece, press it into place along the marks and hold it with painter's tape until it sets. Then fill the joints, caulk the edges and paint.
Trace the details
Sources & dates
Prices, options and photos come from our product catalog on the date shown. Layout tables are planning estimates; measure your wall before ordering.
- DecoMoldings product catalogRecorded November 9, 2026
- Layout and quantity methodologyRecorded November 9, 2026